Lab guide
This guide describes the circuits lab. You assemble a circuit from instruments and components, connect their terminals with cables, operate the controls and take readings from the measuring instruments. The simulation runs the whole time you work: a new connection, a turned knob or a changed parameter shows in the readings at once. The lab does not stop you from making a mistake such as a short circuit. It does not model everything that happens in a real circuit, but some of what a mistake leads to you can watch here: a source switches itself off, a fuse blows, a lamp burns out.
Real electricity
Remember that work with electricity in real life calls for care. What is harmless in the lab can burn, start a fire or give an electric shock on a real bench.
The interface
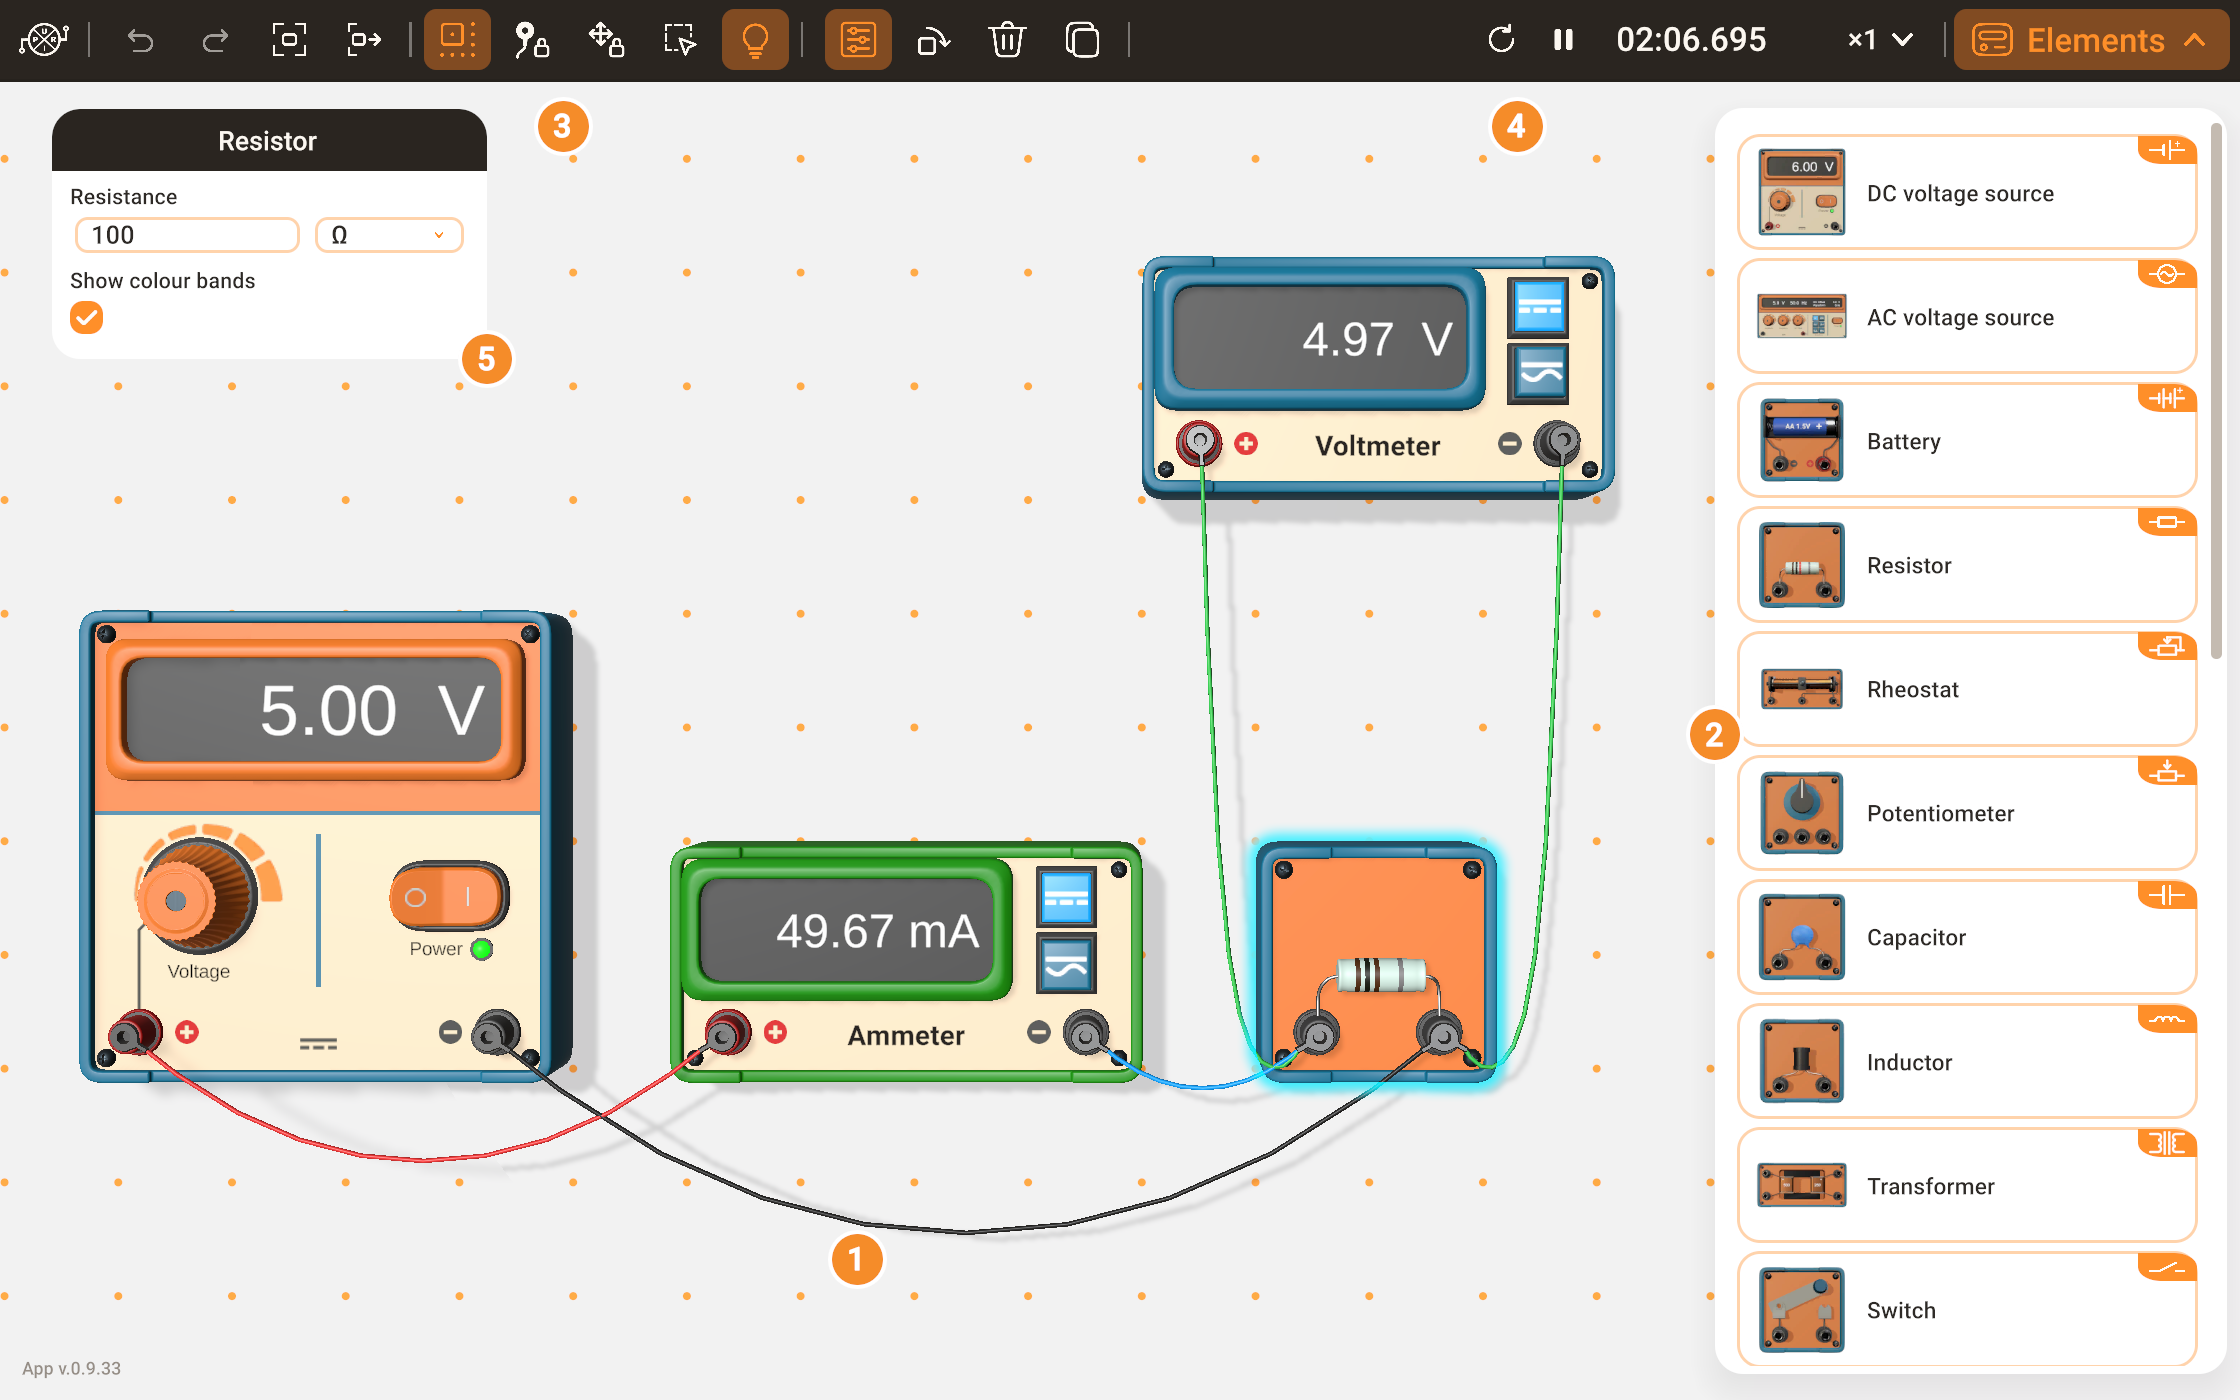
The lab consists of the workspace and the interface panels; the numbers are those in the picture.
- The workspace is the 3D area where the instruments and components stand. Cables connect them, and the camera moves over it.
- The Elements panel holds every instrument and component of the lab. The Elements button hides and shows it.
- The toolbar holds icon buttons:
- the logo opens the main menu: labs, your circuits, saving, settings and the account;
- Undo and Redo;
- Show circuit and Next element move the camera;
- five switches: Snap to grid, Lock cables, Lock equipment, Select with a frame and Room light;
- the buttons for the selection, which appear while you have a selection: Parameters, Rotate, Delete and Copy.
- The simulation clock, on the toolbar, shows the simulated time and controls it.
- The parameter card opens by itself for the selected instrument or cable and holds its settings.
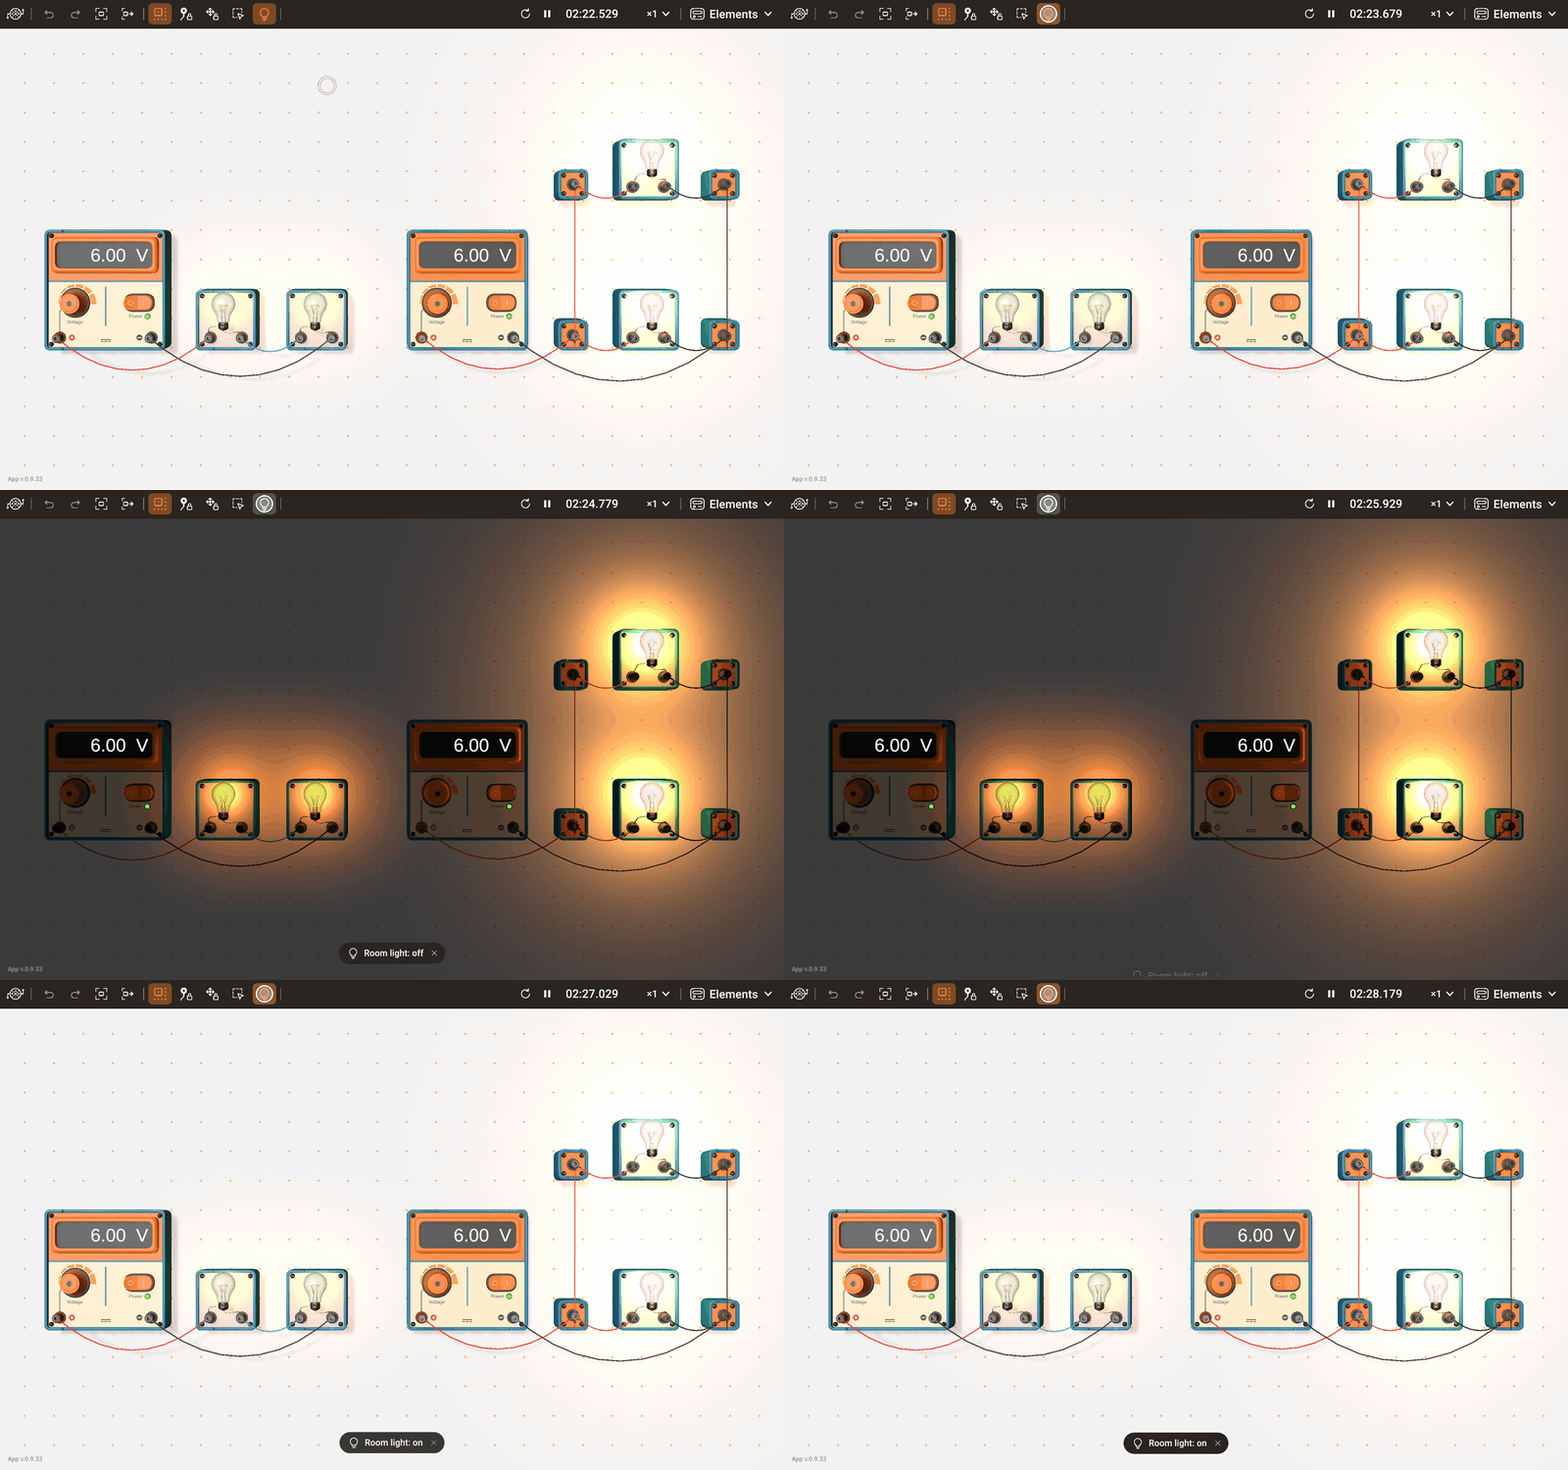
Room light switches off the main light of the room. In the dark, the light of lamps and LEDs and the glow of a hot filament stand out, and a filament too cool to see in daylight shows dull red. A short message confirms each change, and the light is on again at every start of the lab.
The layout adapts to the window and the device: in a narrow window and on a phone, part of the interface changes place.
Moving the camera
- Pan: drag across an empty part of the workspace with a finger or the mouse.
- Zoom: pinch, or turn the mouse wheel.
- Show circuit: the camera moves back until the whole circuit is in view.
- Next element: selects the next instrument of the circuit, row by row from the top and left to right in each row, and the camera frames it. After the last instrument it starts again from the first.
Labs
A lab is a ready-made setup for a school experiment: the instruments stand in place, the cables connect them, and the camera frames the setup when it opens.
- Open the main menu and choose Labs.
- Choose a lab. The cards come in groups for primary, middle and high school.
- If the current circuit has changes you have not saved, a dialog asks whether to discard them first.
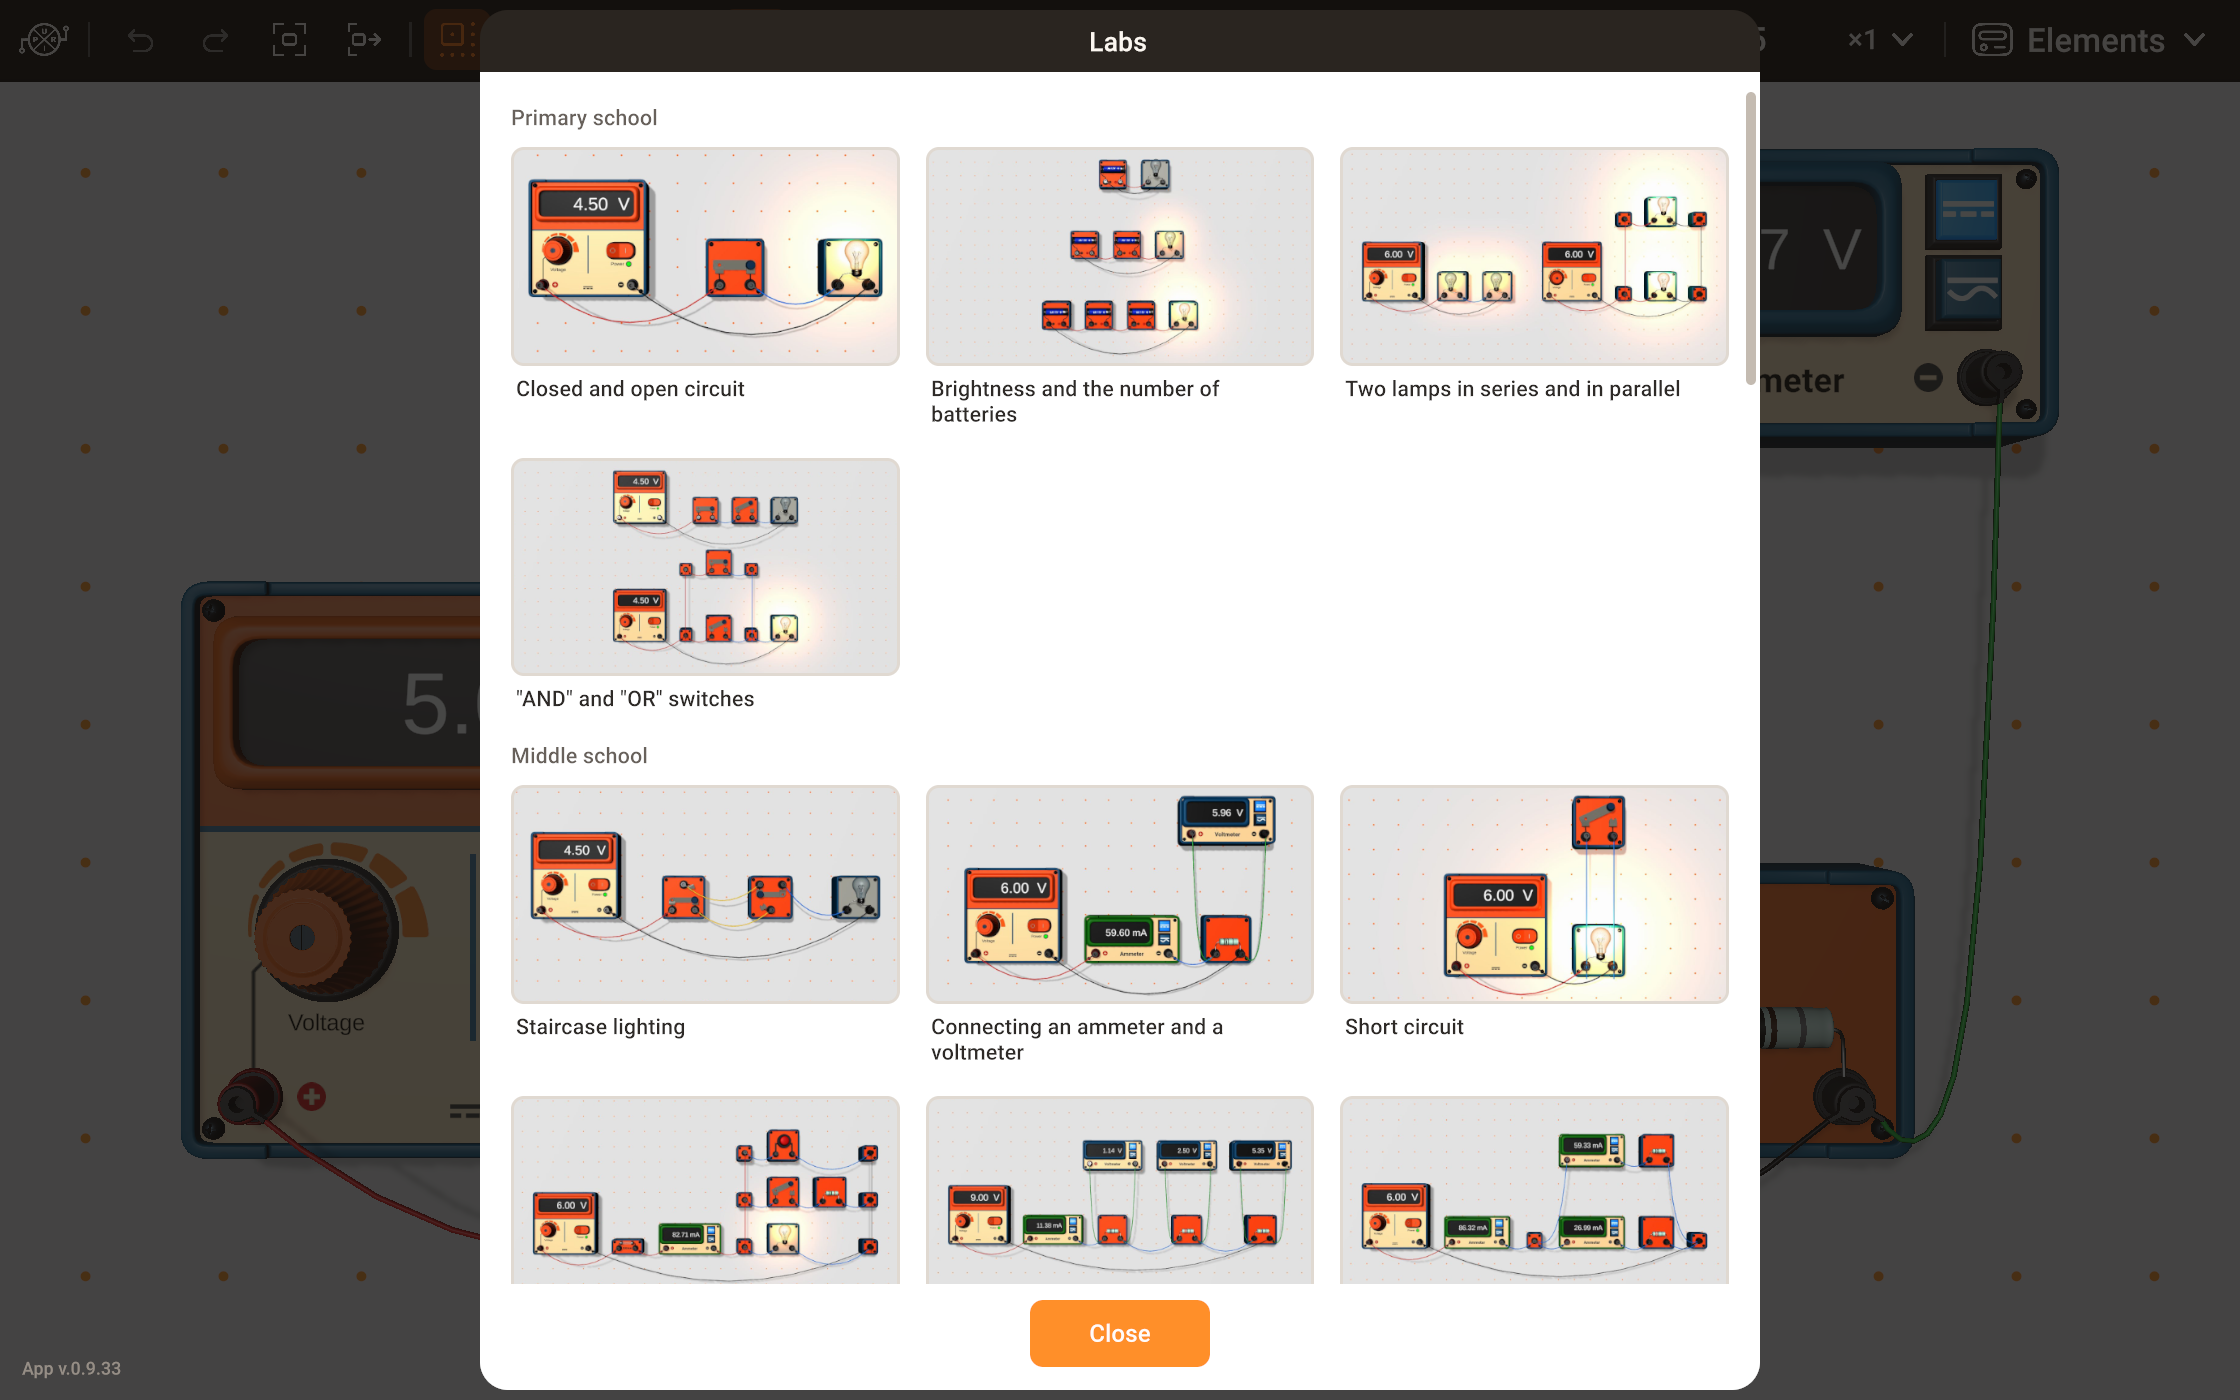
An opened lab is an ordinary circuit: change the values, add instruments, rewire it. To keep your version, save it with My circuits; the ready-made lab in the list stays as it was. The aim, the procedure, the expected result and the questions of every lab are on its page in Labs, where the same setup runs right in the page.
Assembling a circuit
Placing an instrument
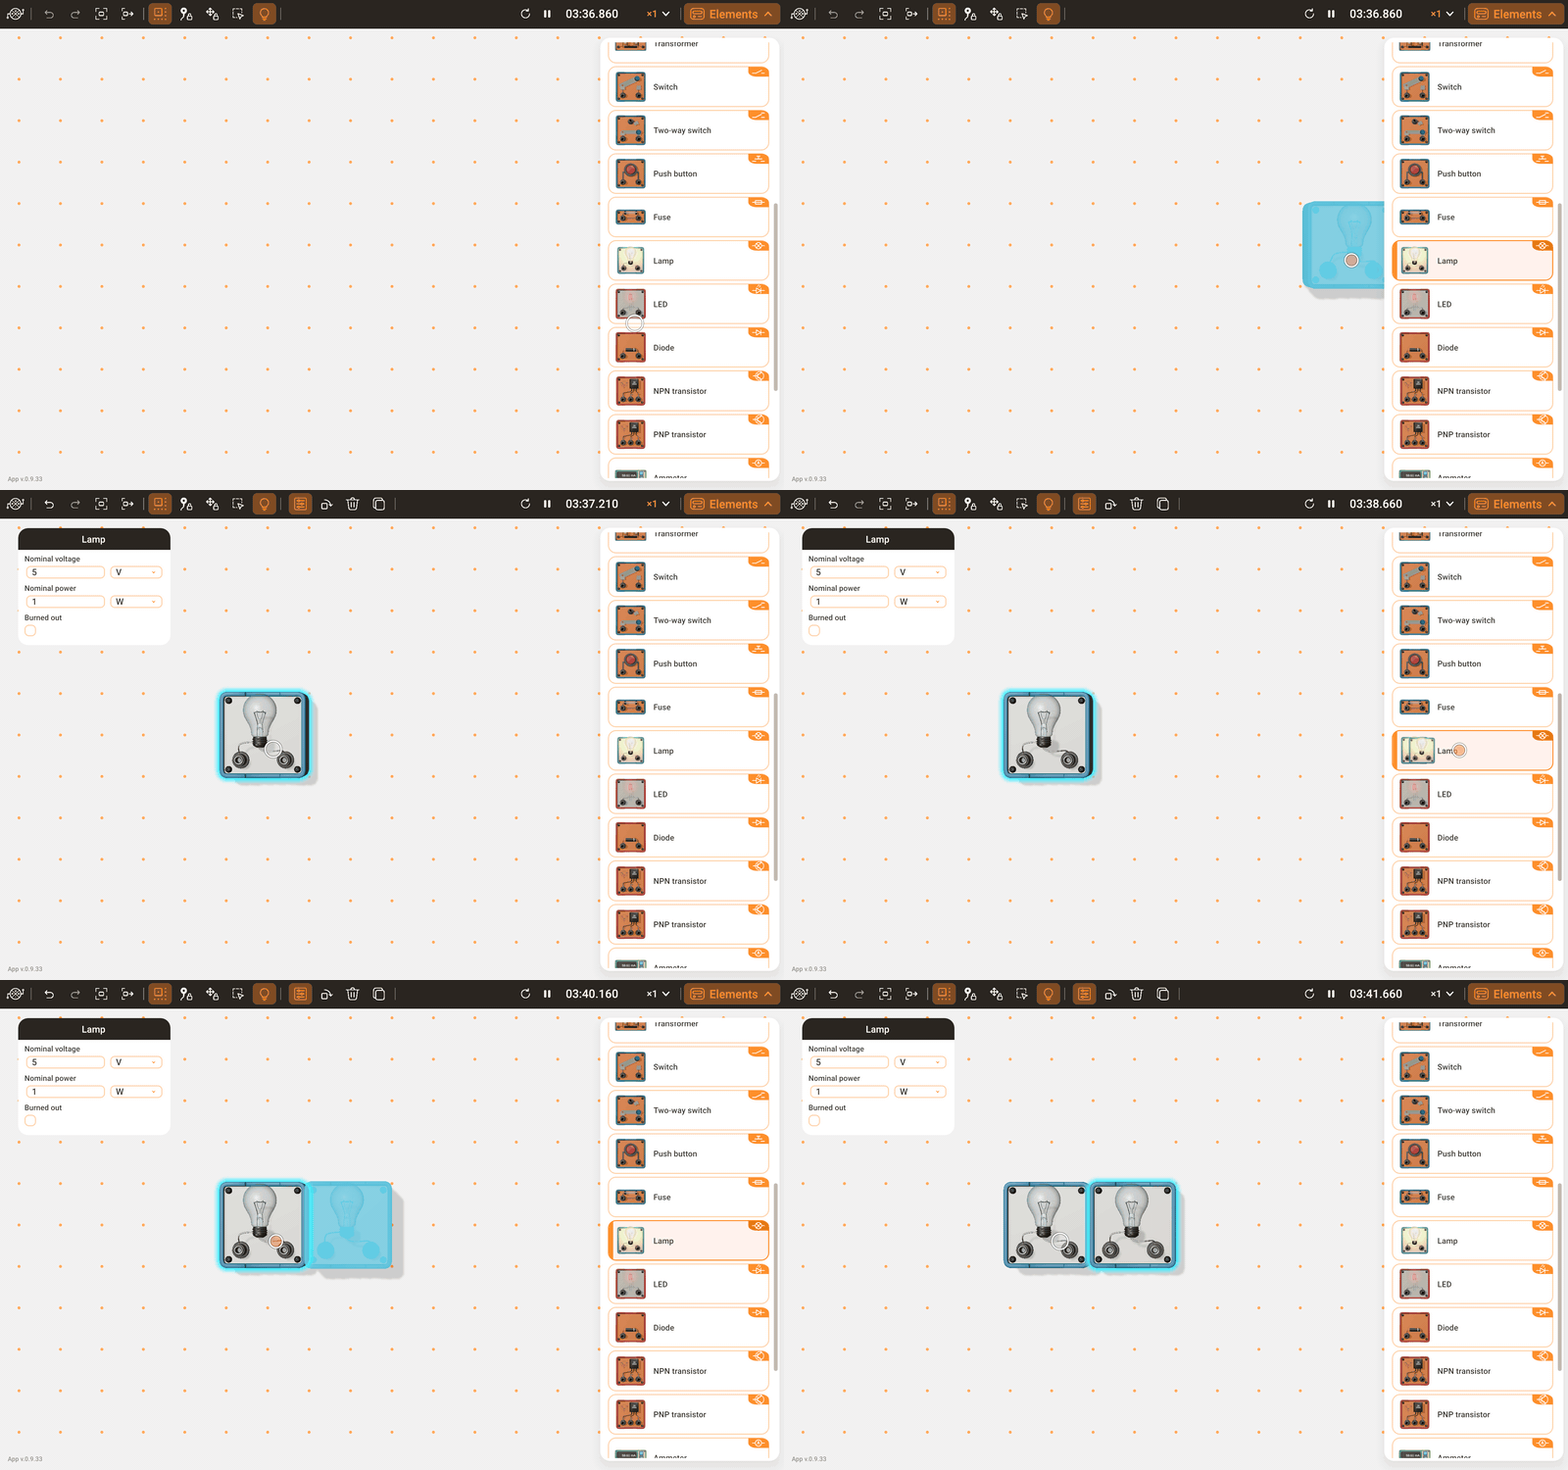
Drag a tile from the Elements panel into the workspace: the icon turns into the instrument as it leaves the panel, and you release it where it should stand. Alternatively, tap a tile and then tap the spot in the workspace; a second tap on the tile cancels the choice.
If the spot is taken, the instrument moves to the nearest free place. If there is no room at all, the instrument turns grey, and releasing it there cancels the placement. Releasing it over the panel or another part of the interface cancels it as well.
Moving and the grid
Drag an instrument to move it; its plugs and cables move with it. With Snap to grid on, the workspace shows grid dots, and the edges of a moved instrument snap to them, so instruments line up. The switch affects only what you move from then on: instruments already in place keep their positions. A short message confirms each change, and the lab remembers the setting between launches.
Instruments cannot overlap. An instrument held over another turns grey; released there, it returns to its previous place.
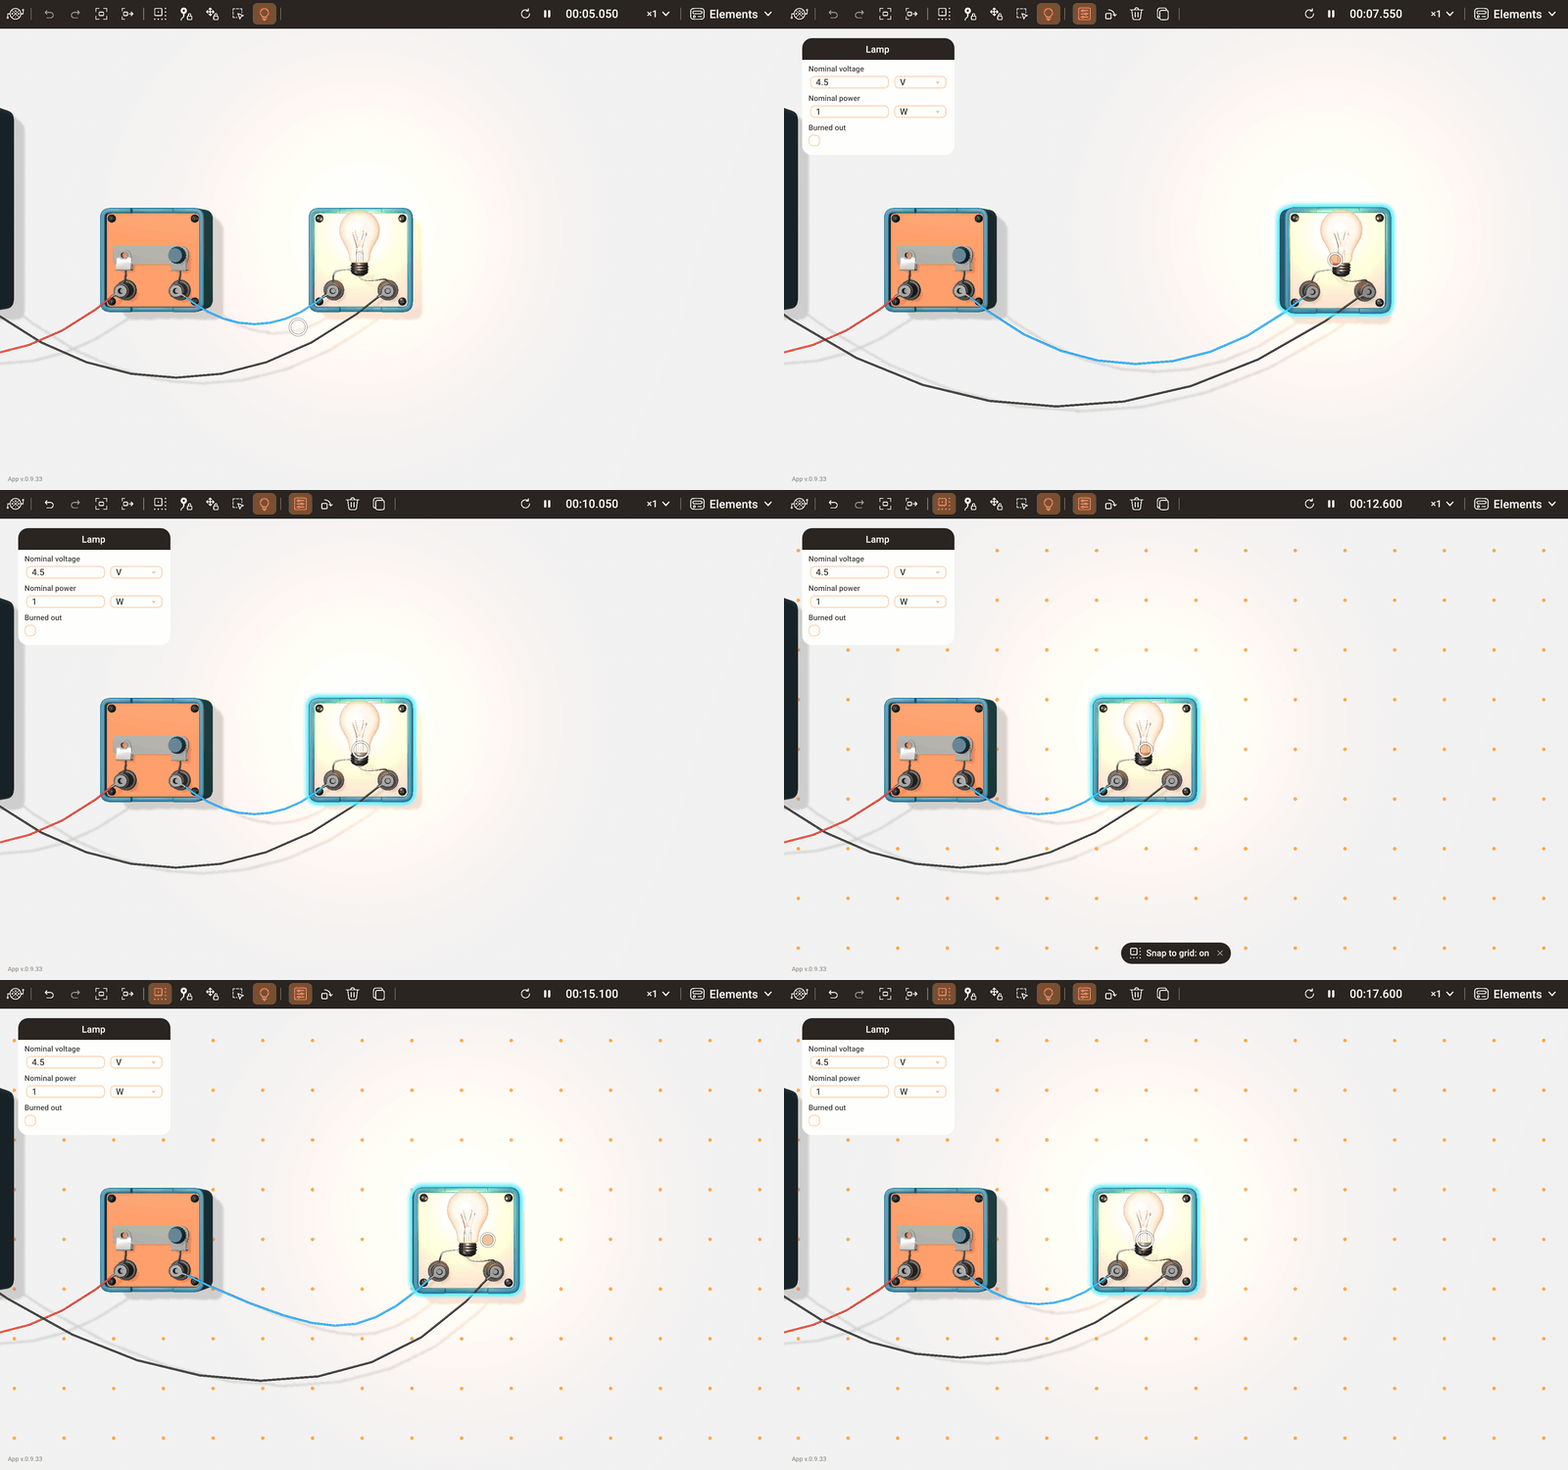
To carry an instrument beyond what is in view, hold it near an edge of the workspace: after a short pause the view scrolls toward that edge, and the instrument stays under the pointer. This works the same for an instrument dragged out of the panel and for a copy. The view does not scroll while the pointer is over a panel.
Wiring
A cable connects two terminals.
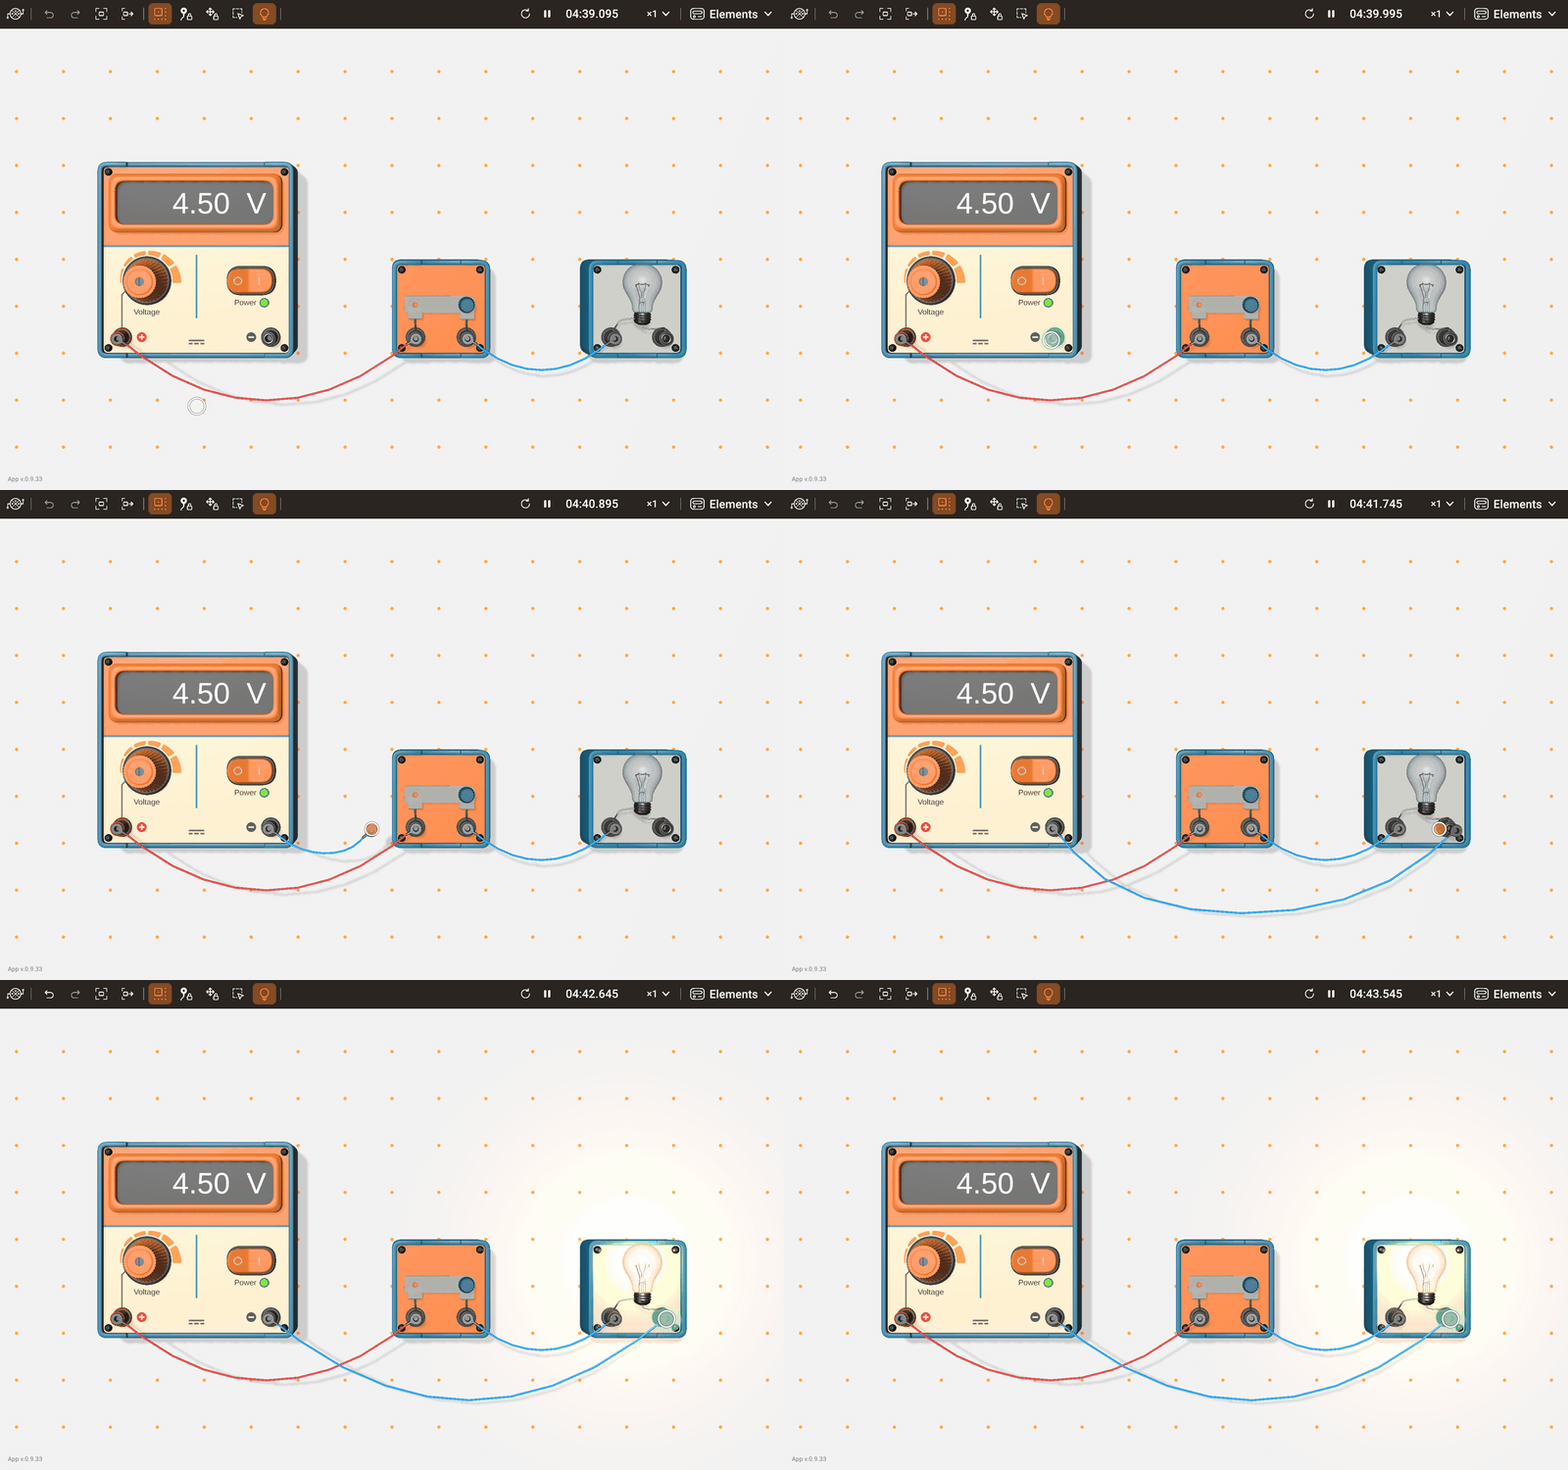
- New cable: drag from a terminal. A plug follows the pointer and pulls toward a terminal it comes near; release it there, and it plugs in. Released away from any terminal, the new cable disappears.
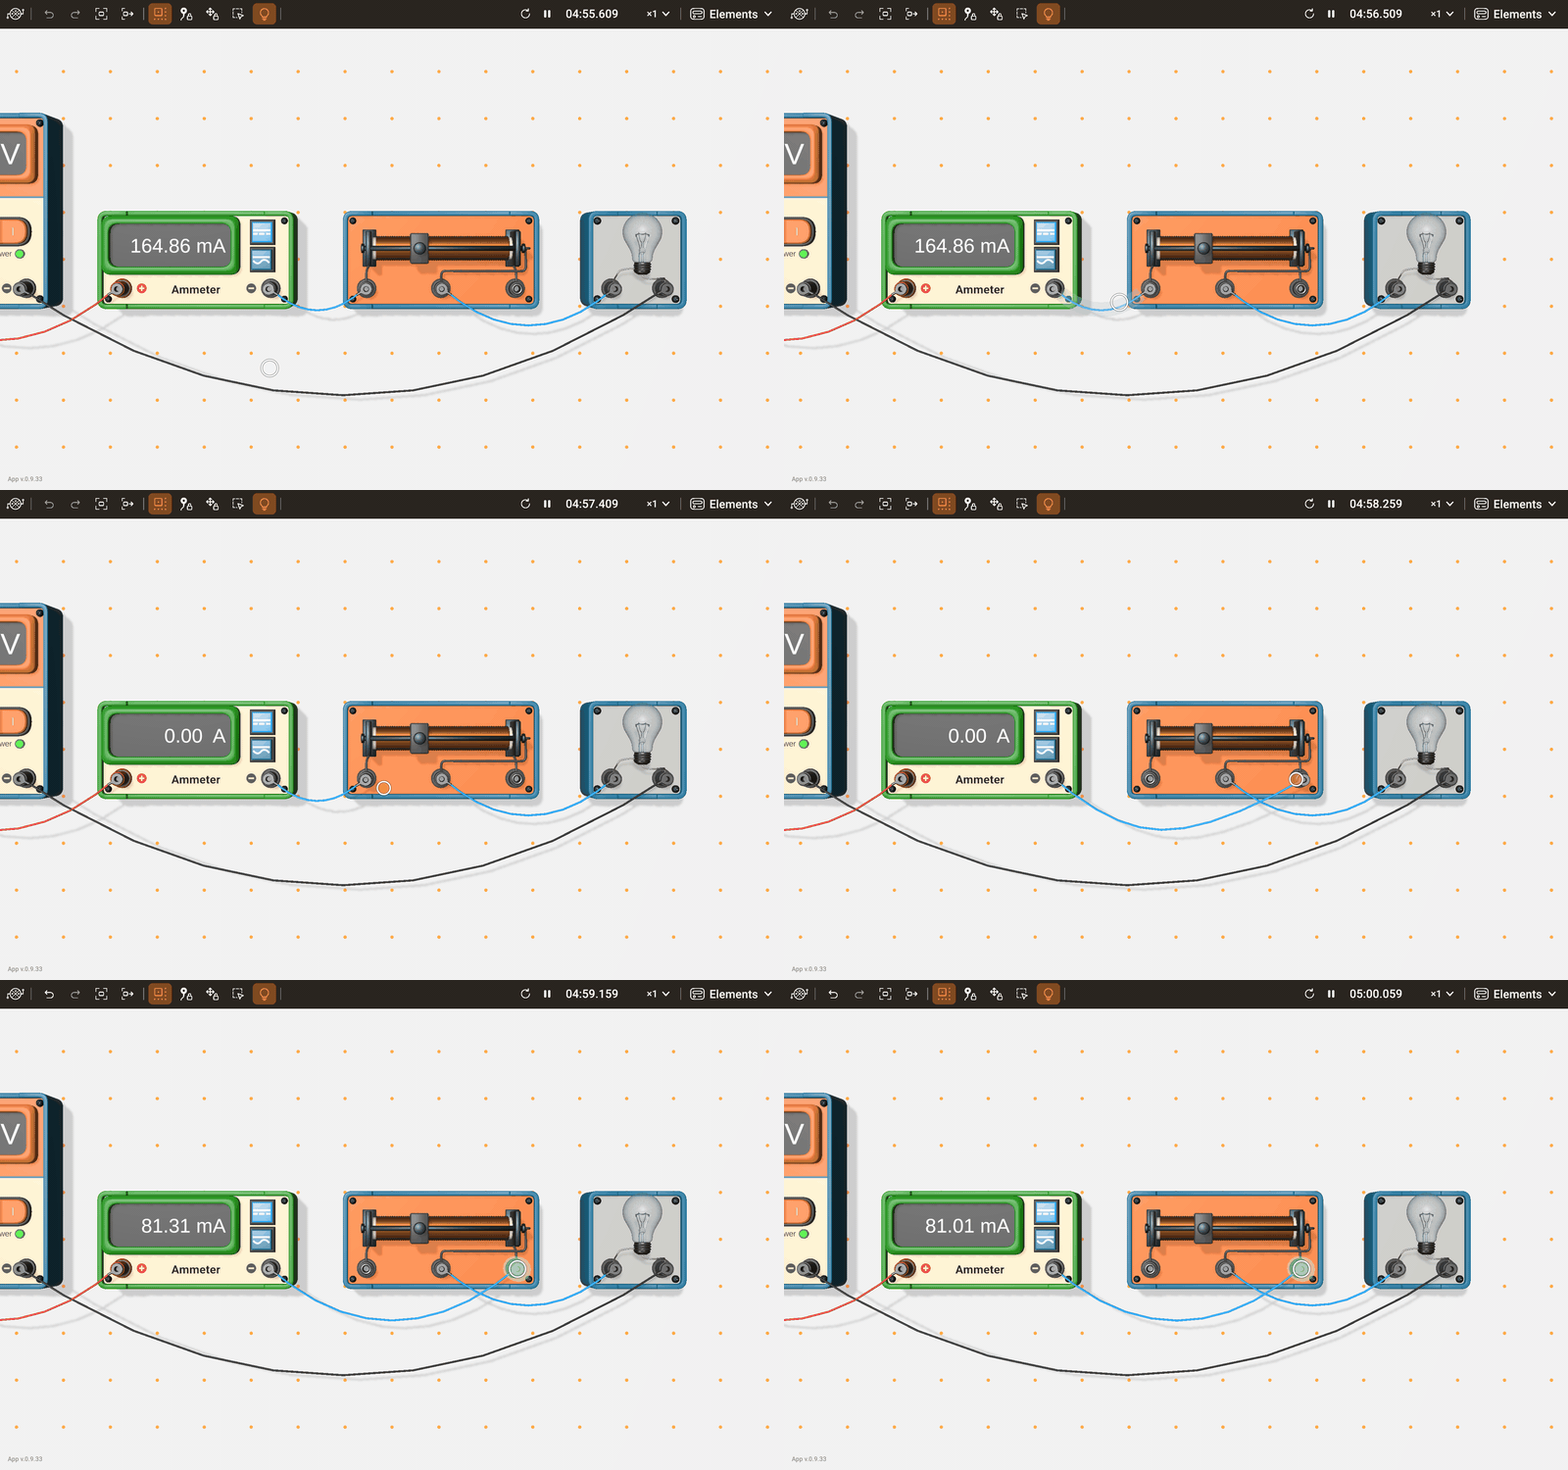
- Reconnecting: drag the cable itself, anywhere along its length. The plug nearer to the pointer comes out of its terminal; drop it on another terminal, and the cable connects there.
- Removing: drag the cable the same way and drop the plug away from any terminal: the cable disappears. Delete removes a selected cable as well.
A terminal takes any number of cables. Two terminals connect only once: a second cable between the same pair does not plug in.
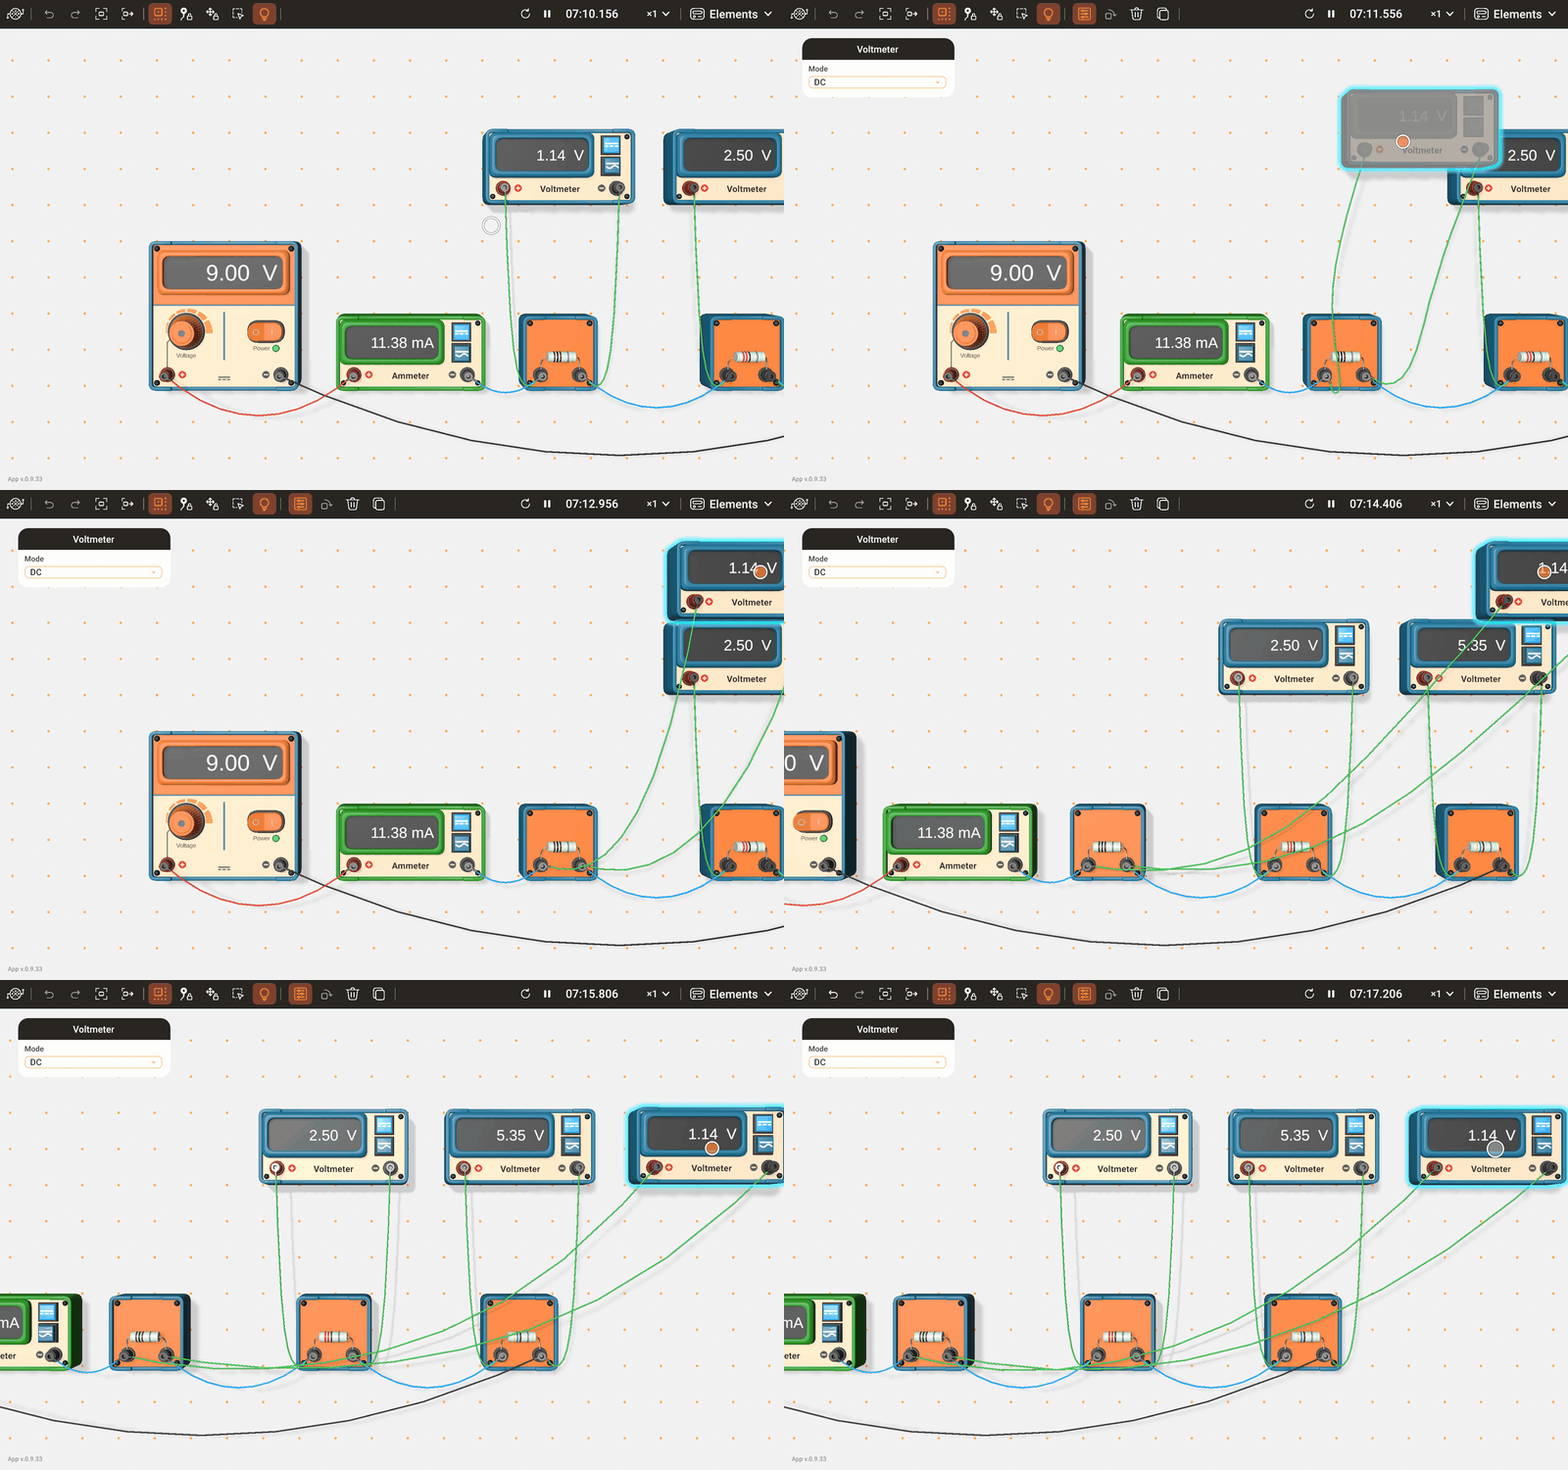
To reach a terminal that is out of view, hold the plug near an edge of the workspace: after a short pause the view scrolls toward that edge, the same as with an instrument.
Cables hang with a slight sag. When an instrument moves, its cables lag behind, swing and settle. To have them settle at once, switch Cable animation off in Settings.
Selecting, rotating and deleting
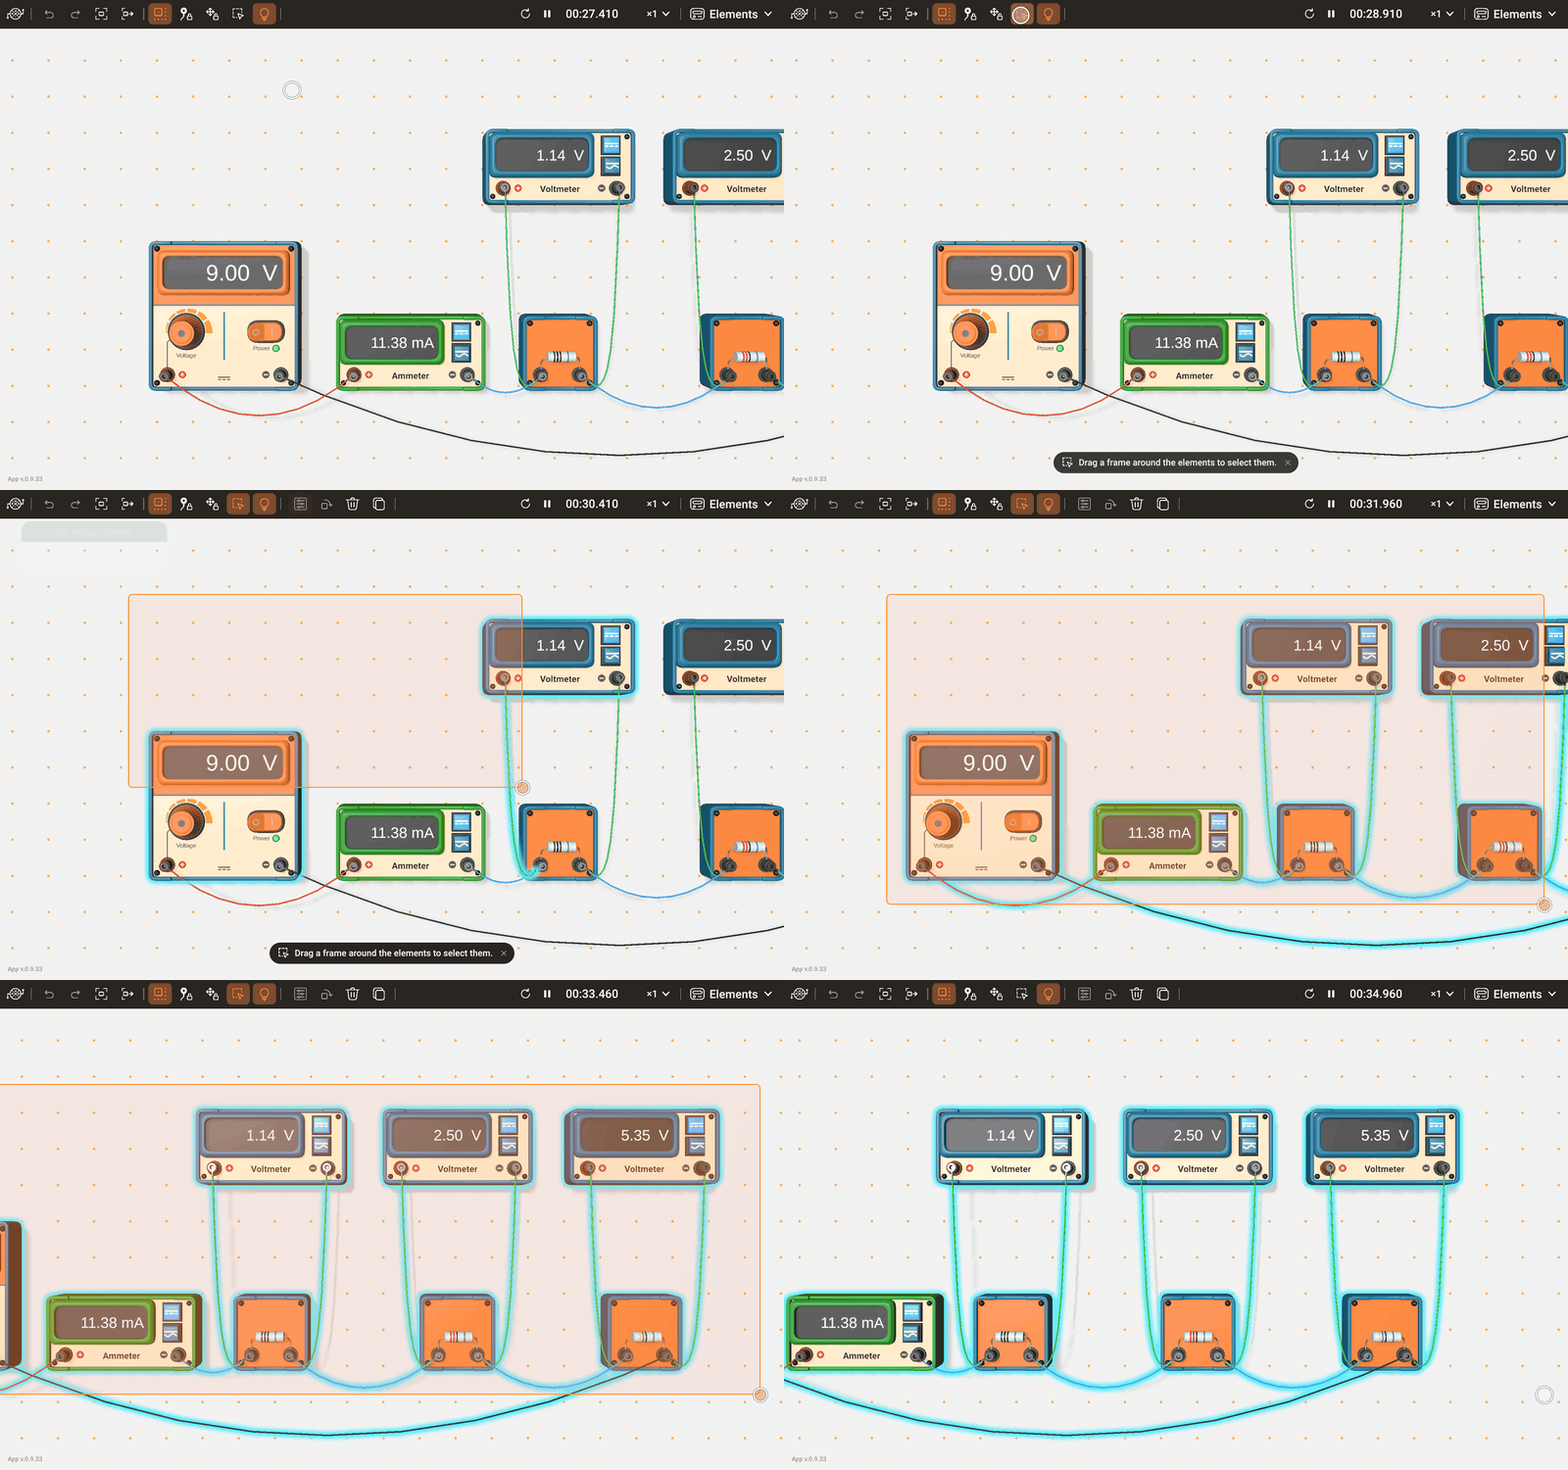
Tap an instrument or a cable to select it. A tap on another object replaces the selection, and a tap on an empty part of the workspace clears it. To select several objects at once, draw a frame around them: it selects every instrument and cable it touches, and the selection follows the frame while you drag. Dragging one instrument of a selected group moves the whole group. The parameter card of a cable holds its colour and resistance.
- Select with a frame: press the button, then drag across the workspace. The button turns off once you release the frame. A tap without a drag, or a press anywhere outside the workspace, turns it off without selecting anything.
- With a mouse, a drag with the right button draws a frame too, without the button.
Hold the frame near an edge of the workspace, and after a short pause the view scrolls toward that edge: slowly near it, at full speed on it. The frame stays anchored where you started, so it can take in a part of the circuit that was out of view. The view does not scroll while the pointer is over a panel.
- Rotate: turns the selected instrument a quarter turn clockwise. Instruments with a display do not rotate. If there is no room for the turn, the instrument flashes grey and stays as it was.
- Delete: removes everything selected; an instrument takes its cables with it.
Copying
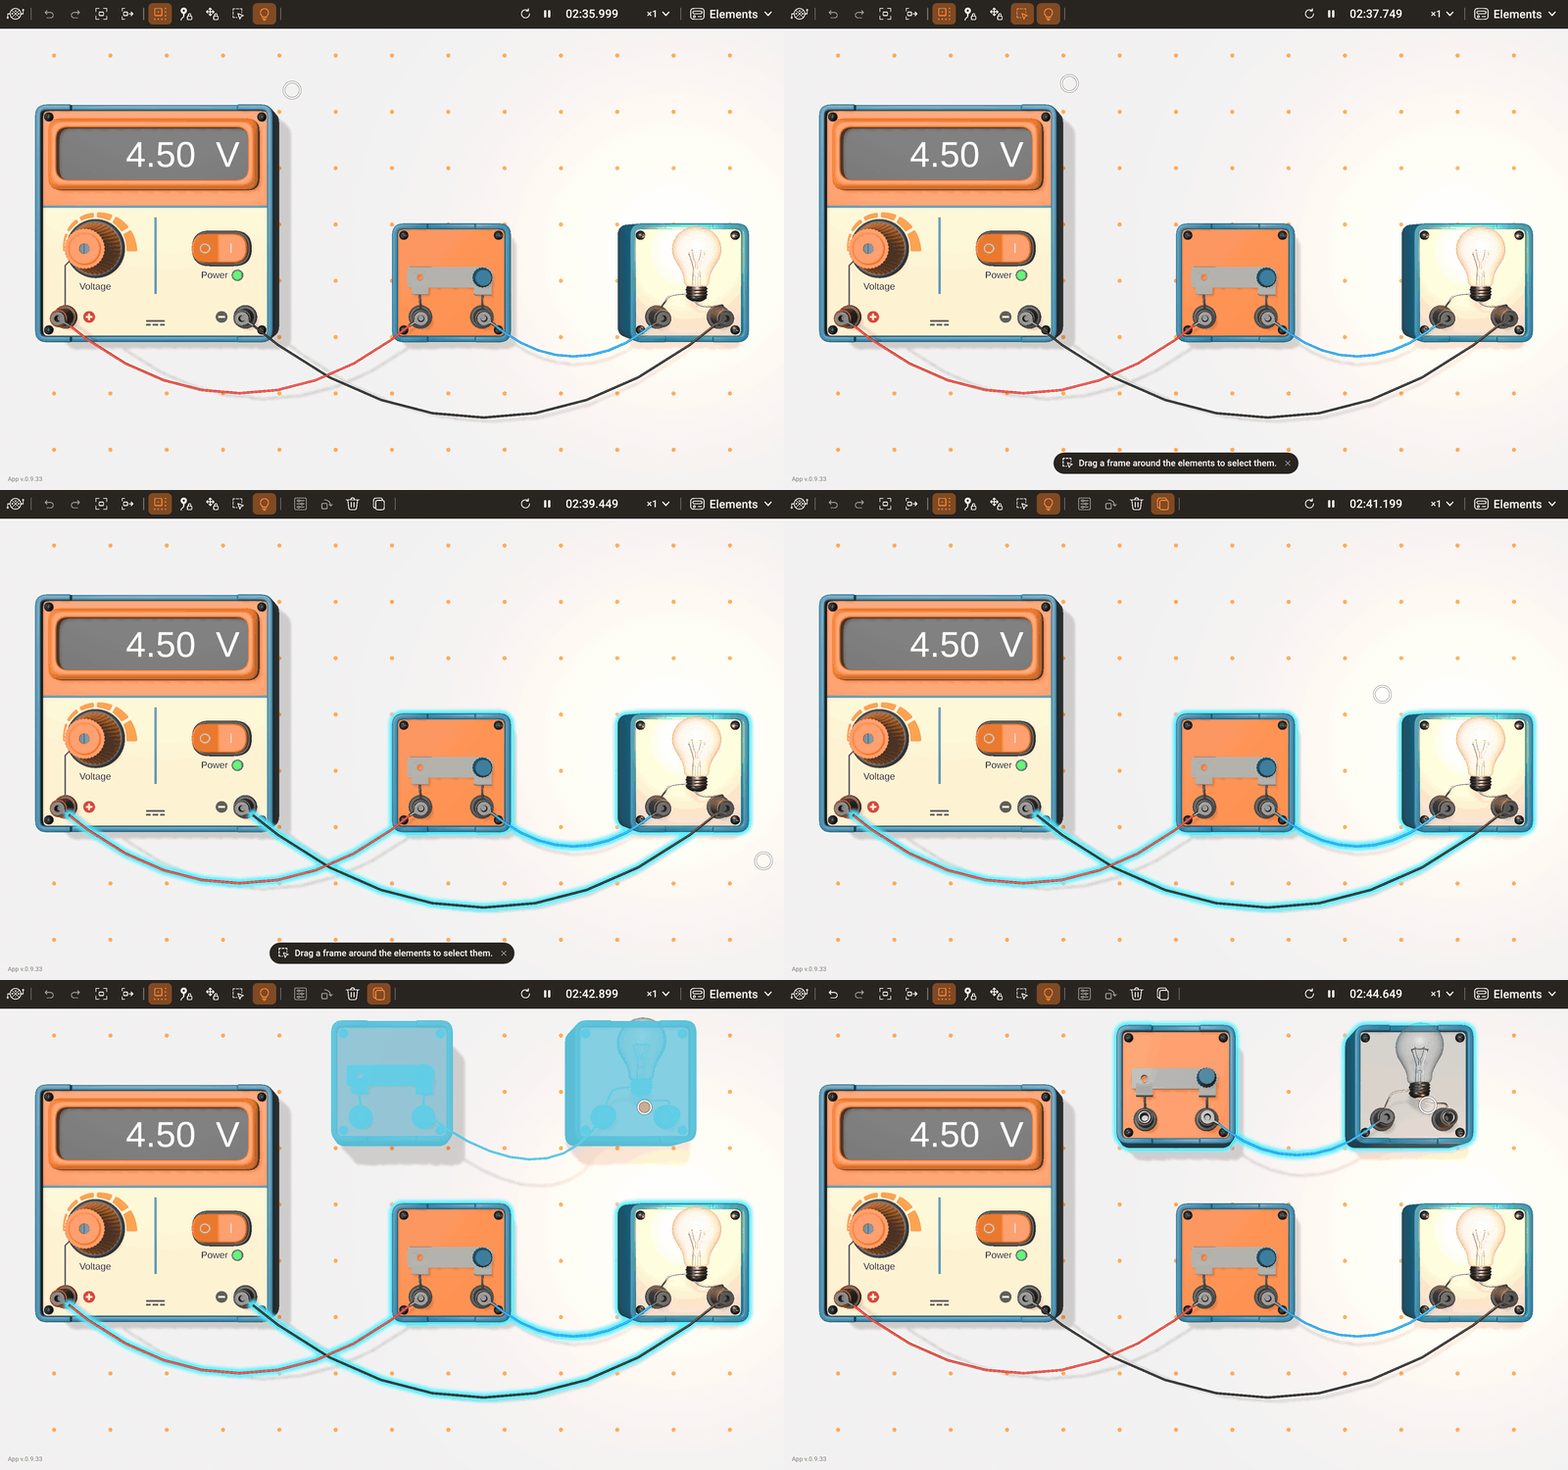
Select one or more instruments and press Copy. Then:
- drag one of the selected instruments, and a copy of the whole group, cables included, follows the pointer to where you release it;
- or tap an empty part of the workspace, and the copy appears there;
- or tap a selected instrument, and the copy lands beside it.
A copy keeps every setting of the original: its parameters, the positions of its knobs and levers, its rotation, and the cables that run between the copied instruments. If the copy turns grey, there is no room for it where it is.
Undo and redo
Undo and Redo take back and repeat changes to the circuit: placing, moving, rotating, wiring, deleting, a new parameter value, a turned knob or a flipped switch. Camera moves, the selection, the simulation speed and the settings stay out of the history. New and opening a circuit, a file or a lab start a new history.
Undo restarts the simulation
The history keeps the circuit, not its electrical state: the charge of a capacitor, the current in a coil and the heat of a filament are not stored between steps. Every Undo and Redo puts the time back to zero, and the lab calculates the circuit from the start.
Locking cables and equipment
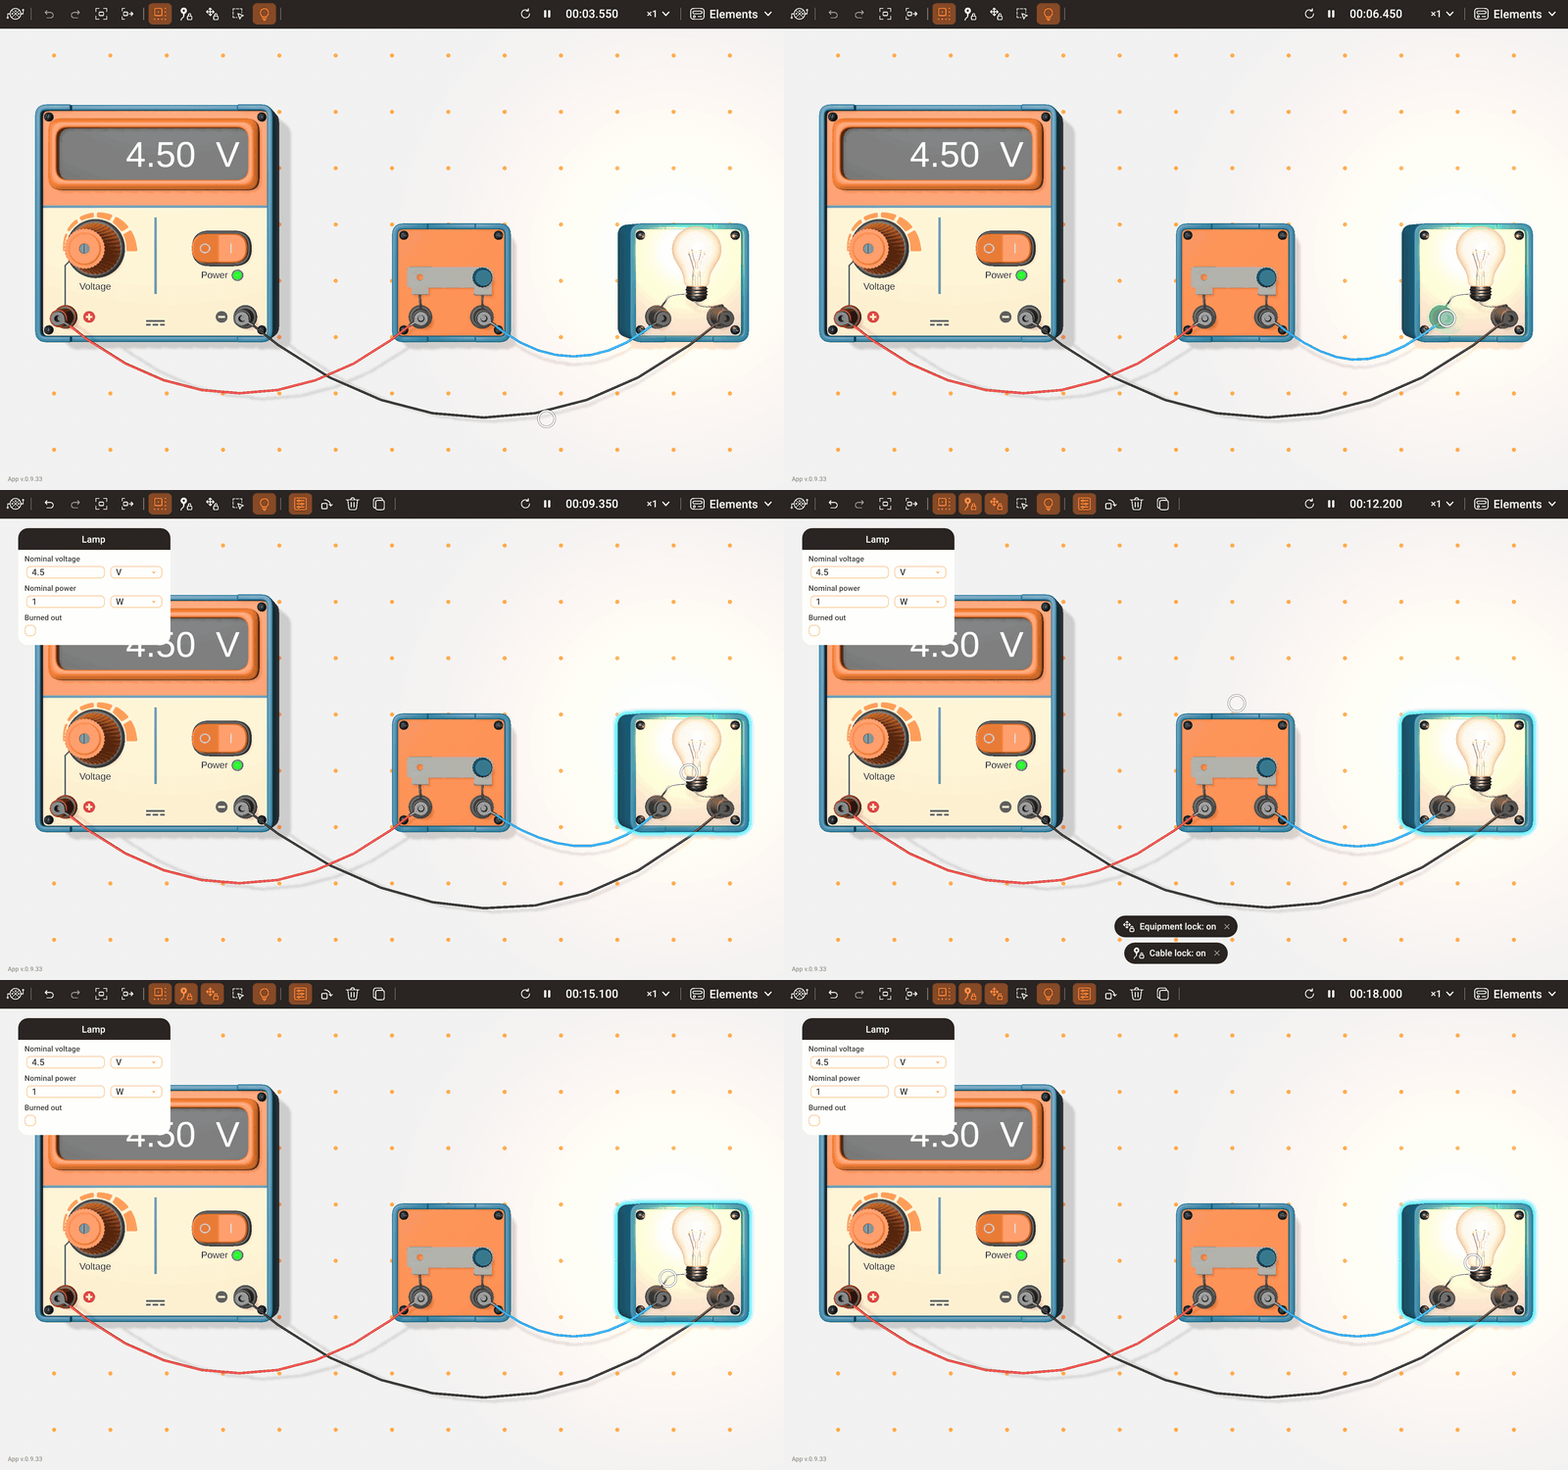
When the circuit is ready and you only want to operate the controls, the locks keep it from shifting under your fingers. With Lock cables on, dragging a cable or a terminal moves the camera instead: no new cable starts and no plug comes out. Lock equipment does the same for the instruments. Taps still select, and knobs, keys and switches still work. A short message confirms each change, and both locks are off again at every start of the lab.
Operating the controls
The Instrument reference lists the controls of every instrument. They work the same way on all instruments.
- Knobs: on the sources and the oscilloscope they turn without end. Grab one and move the pointer around its centre: clockwise raises the value. A guide line shows where you hold it; the farther from the centre you hold, the finer the adjustment.
- Potentiometer and rheostat: the potentiometer knob turns between two stops; the rheostat slider moves along the track.
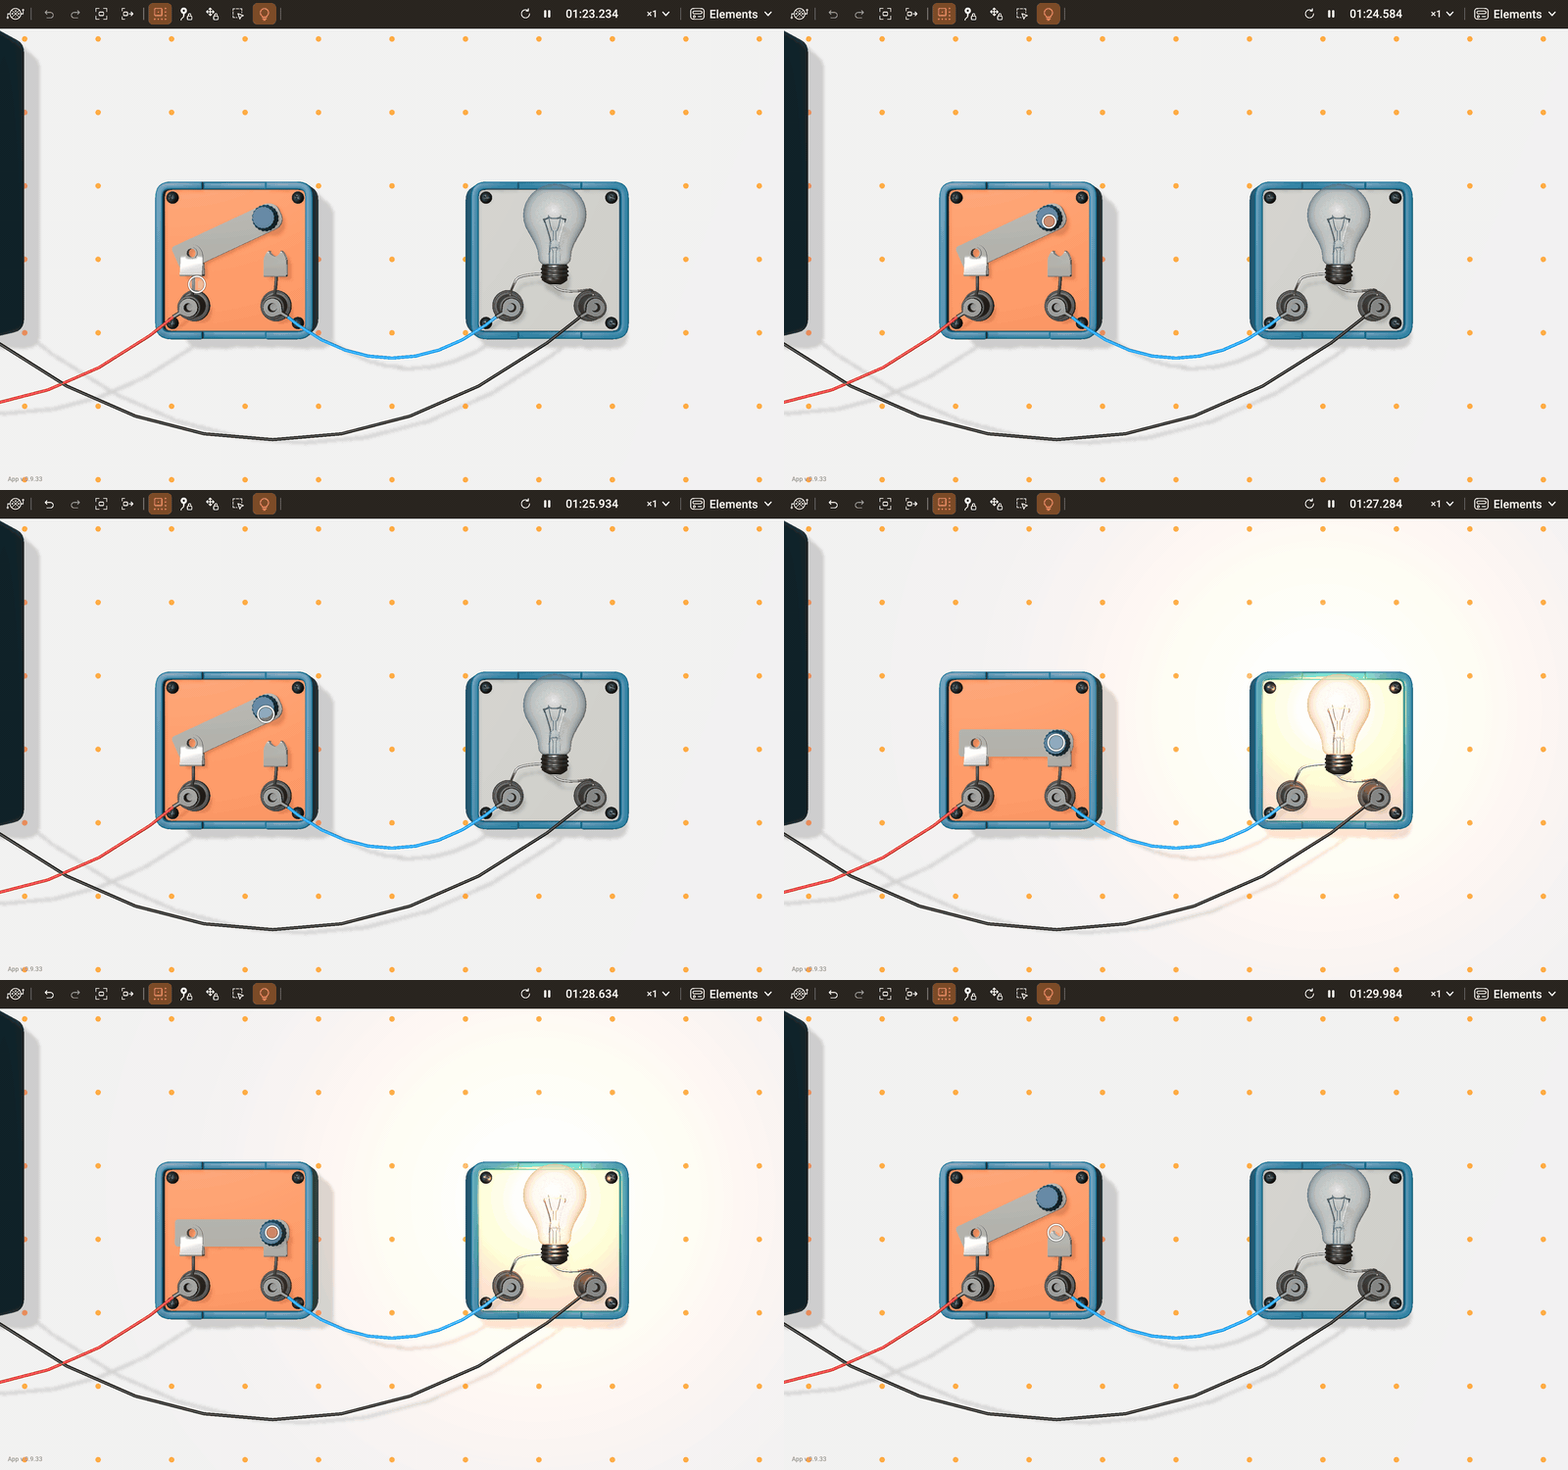
- Switches: the lever of a switch follows your finger and snaps to one end when you release it; a tap flips it. The push button keeps the circuit closed only while you hold it. The two-way switch steps through its positions with every tap, always passing through the open position.
- Keys: a tap presses them: the power key of a source, the waveform keys, the DC and AC keys of the meters, the keys of the oscilloscope and the wattmeter.
Parameters
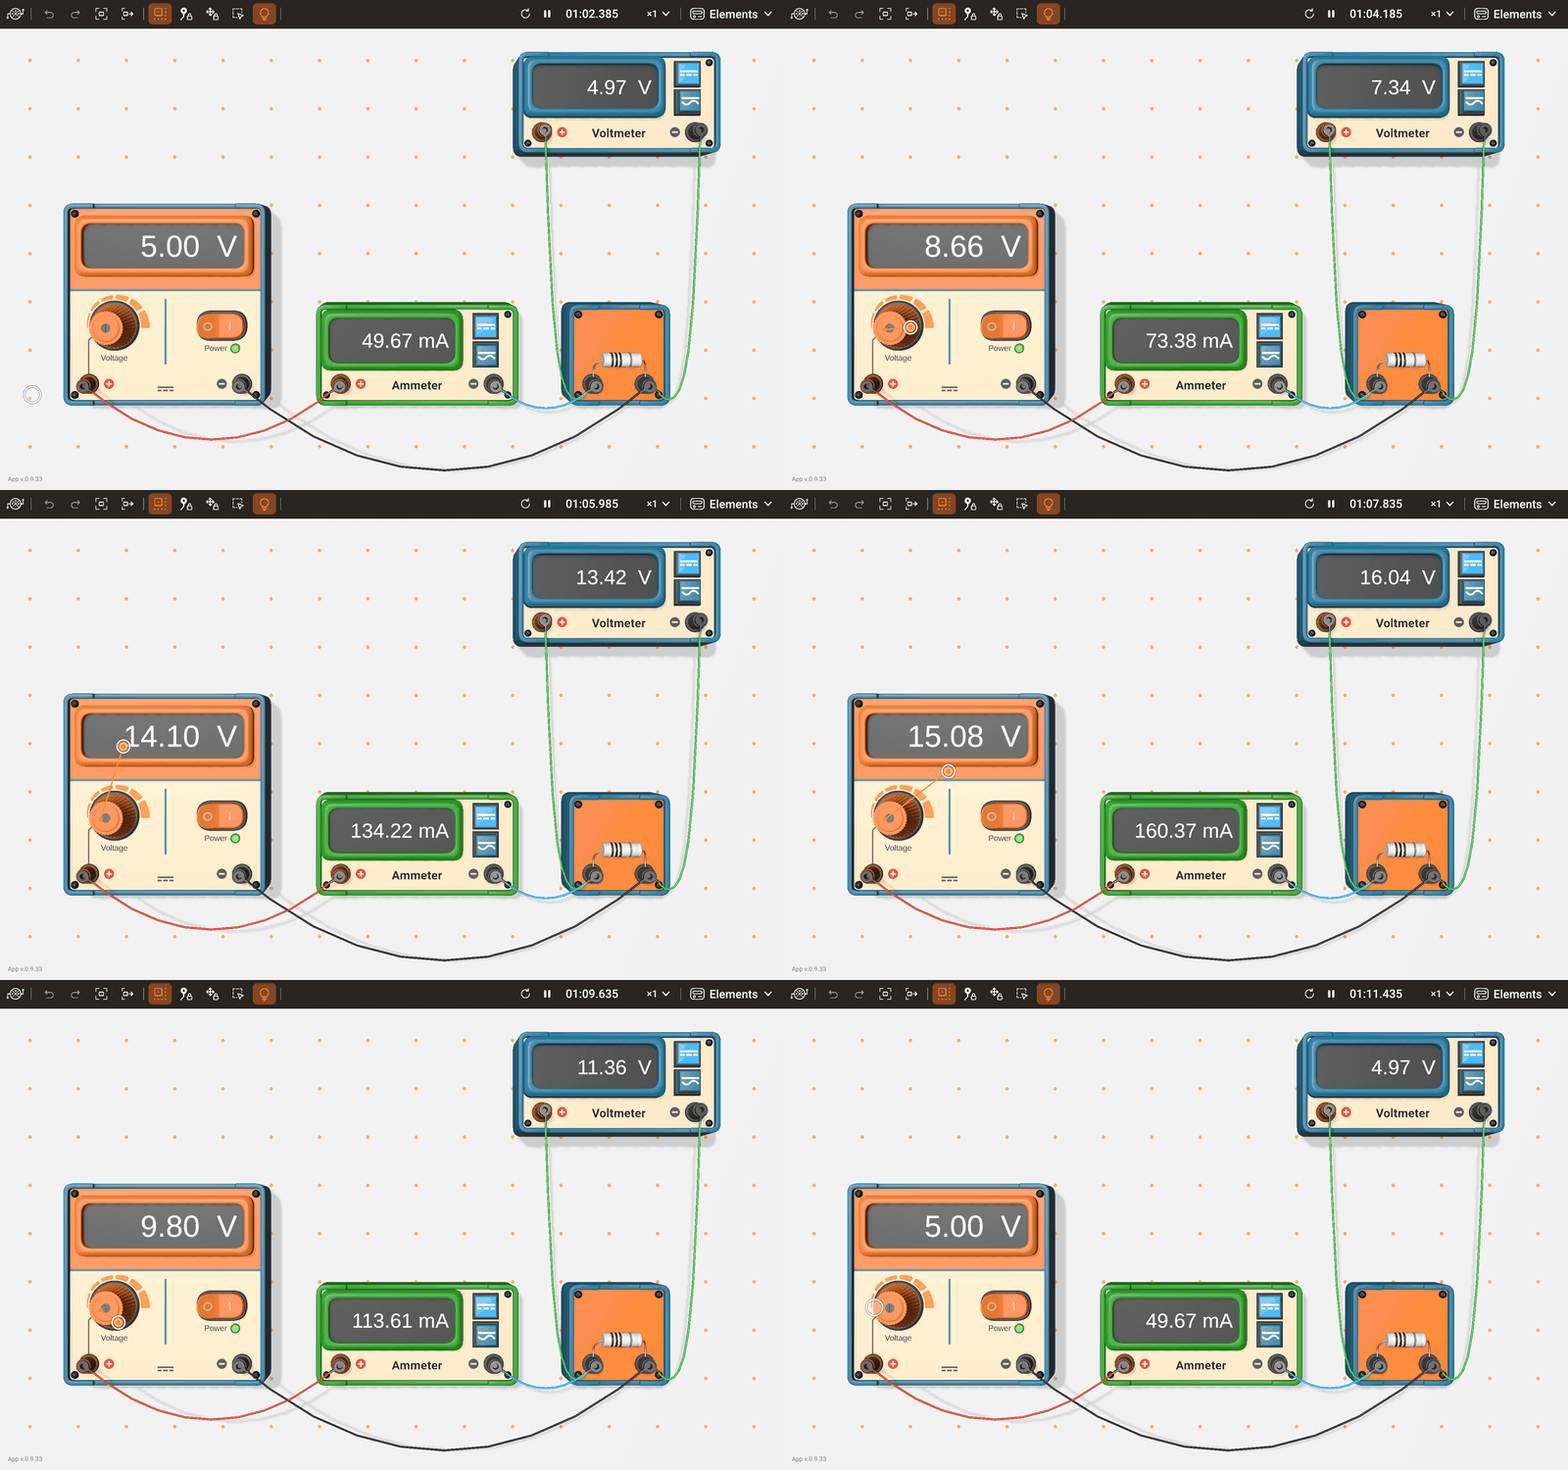
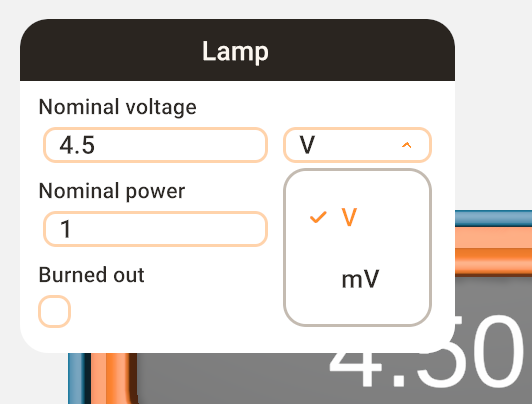
Select a single instrument or cable, and its parameter card opens with its settings: voltage, resistance, capacitance, the colour of an LED or a cable, the type of a battery, the turns of a transformer. The Parameters button hides the card and shows it again; the lab keeps your choice for the next selections. With more than one object selected, there is no card.
- Type a number and press Enter, or move to another field. A number beyond a limit shows a hint with the limit and returns within it.
- Next to a number, a unit list changes the prefix, for example from kΩ to Ω. The number rescales, and the value itself stays the same.
- A change acts on the running circuit at once and can be undone.
- To replace a burned-out lamp or a blown fuse, untick Burned out or Blown.
Simulation time
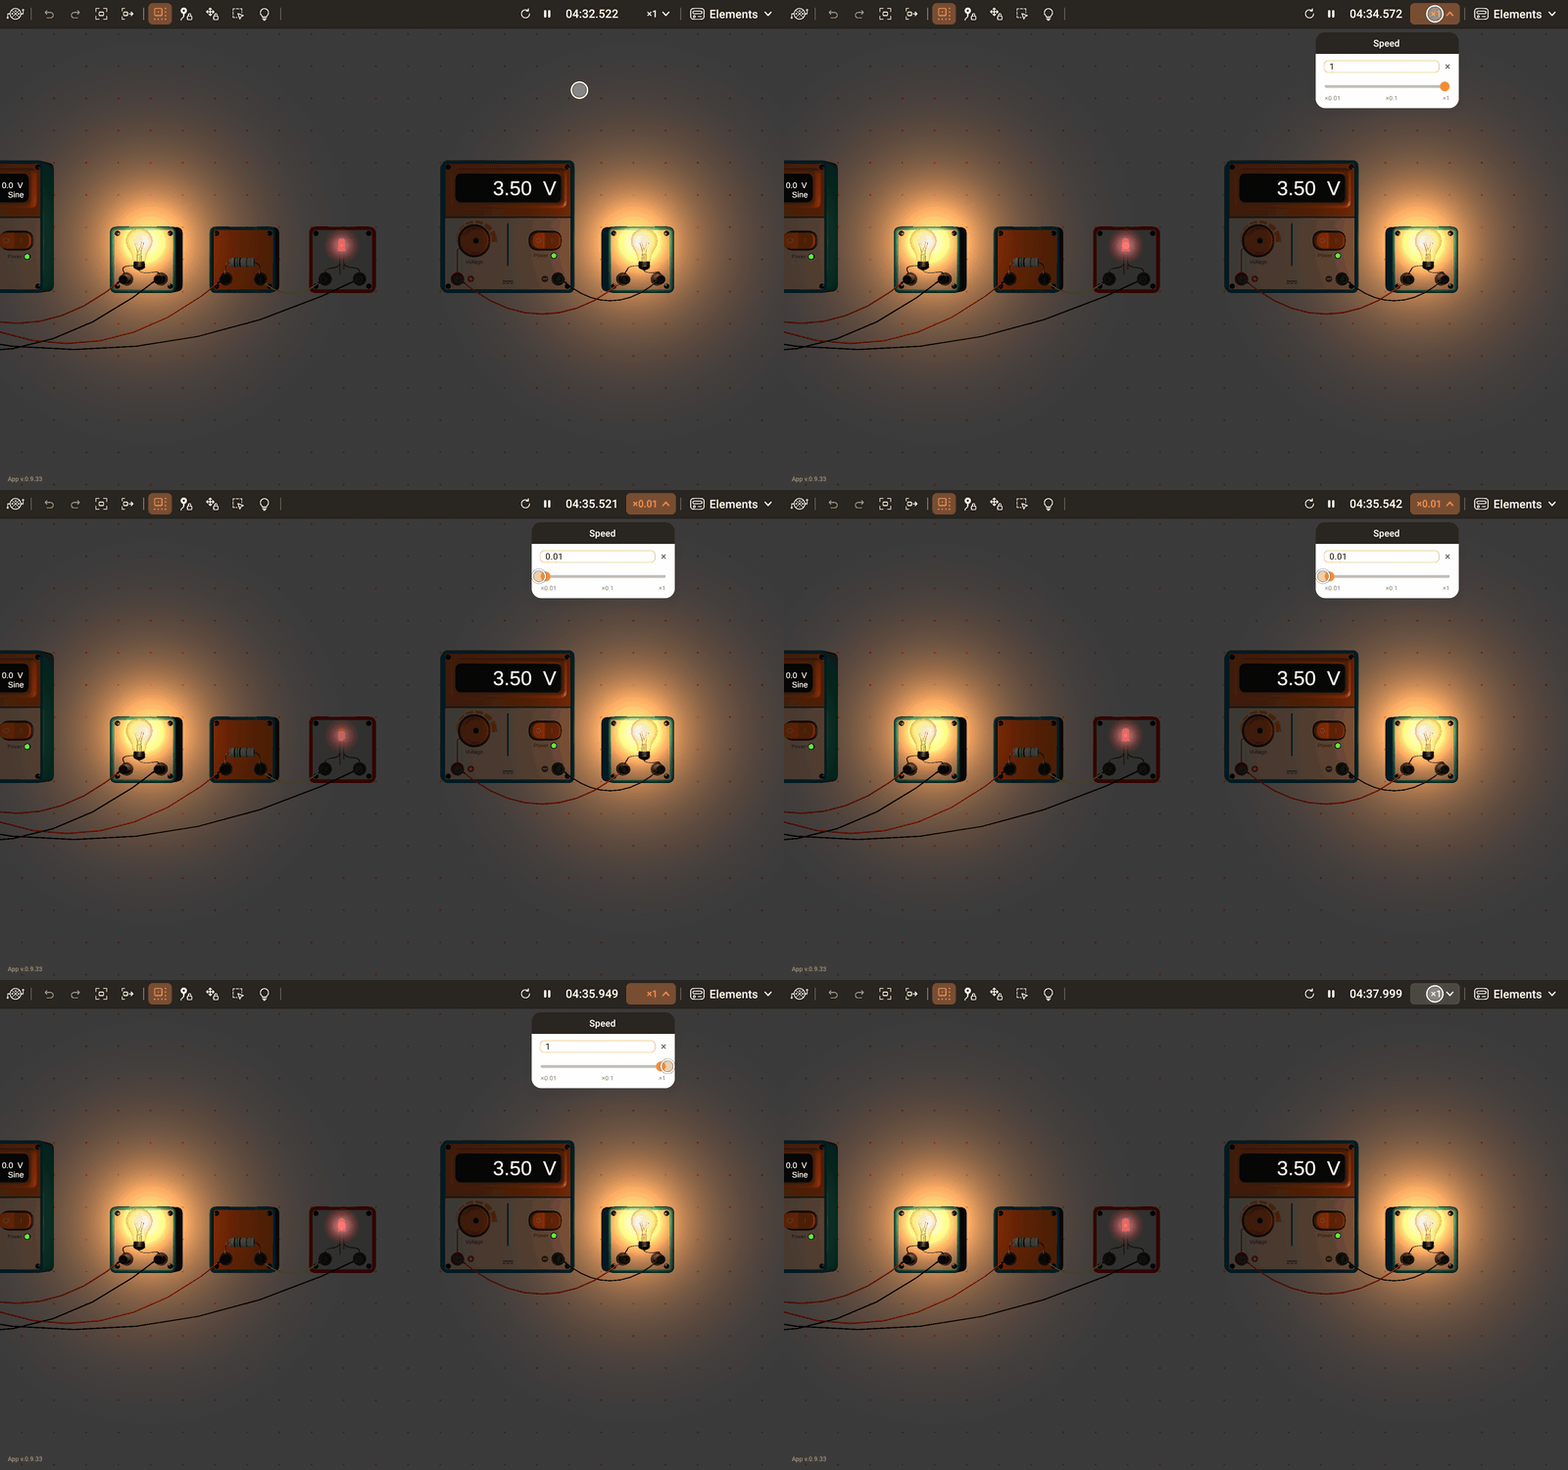
The simulation clock shows the simulated time and controls it.
- Restart: puts the time back to zero and returns every instrument to its starting state. A running simulation keeps running, a paused one stays paused. A burned-out lamp and a blown fuse stay broken, and the energy count of the wattmeter stays: replace them in the parameter card, clear the count with RESET.
- Play and pause: a pause freezes everything, the light of the lamps and the trace on the oscilloscope included. The time shows in grey while the simulation stands still.
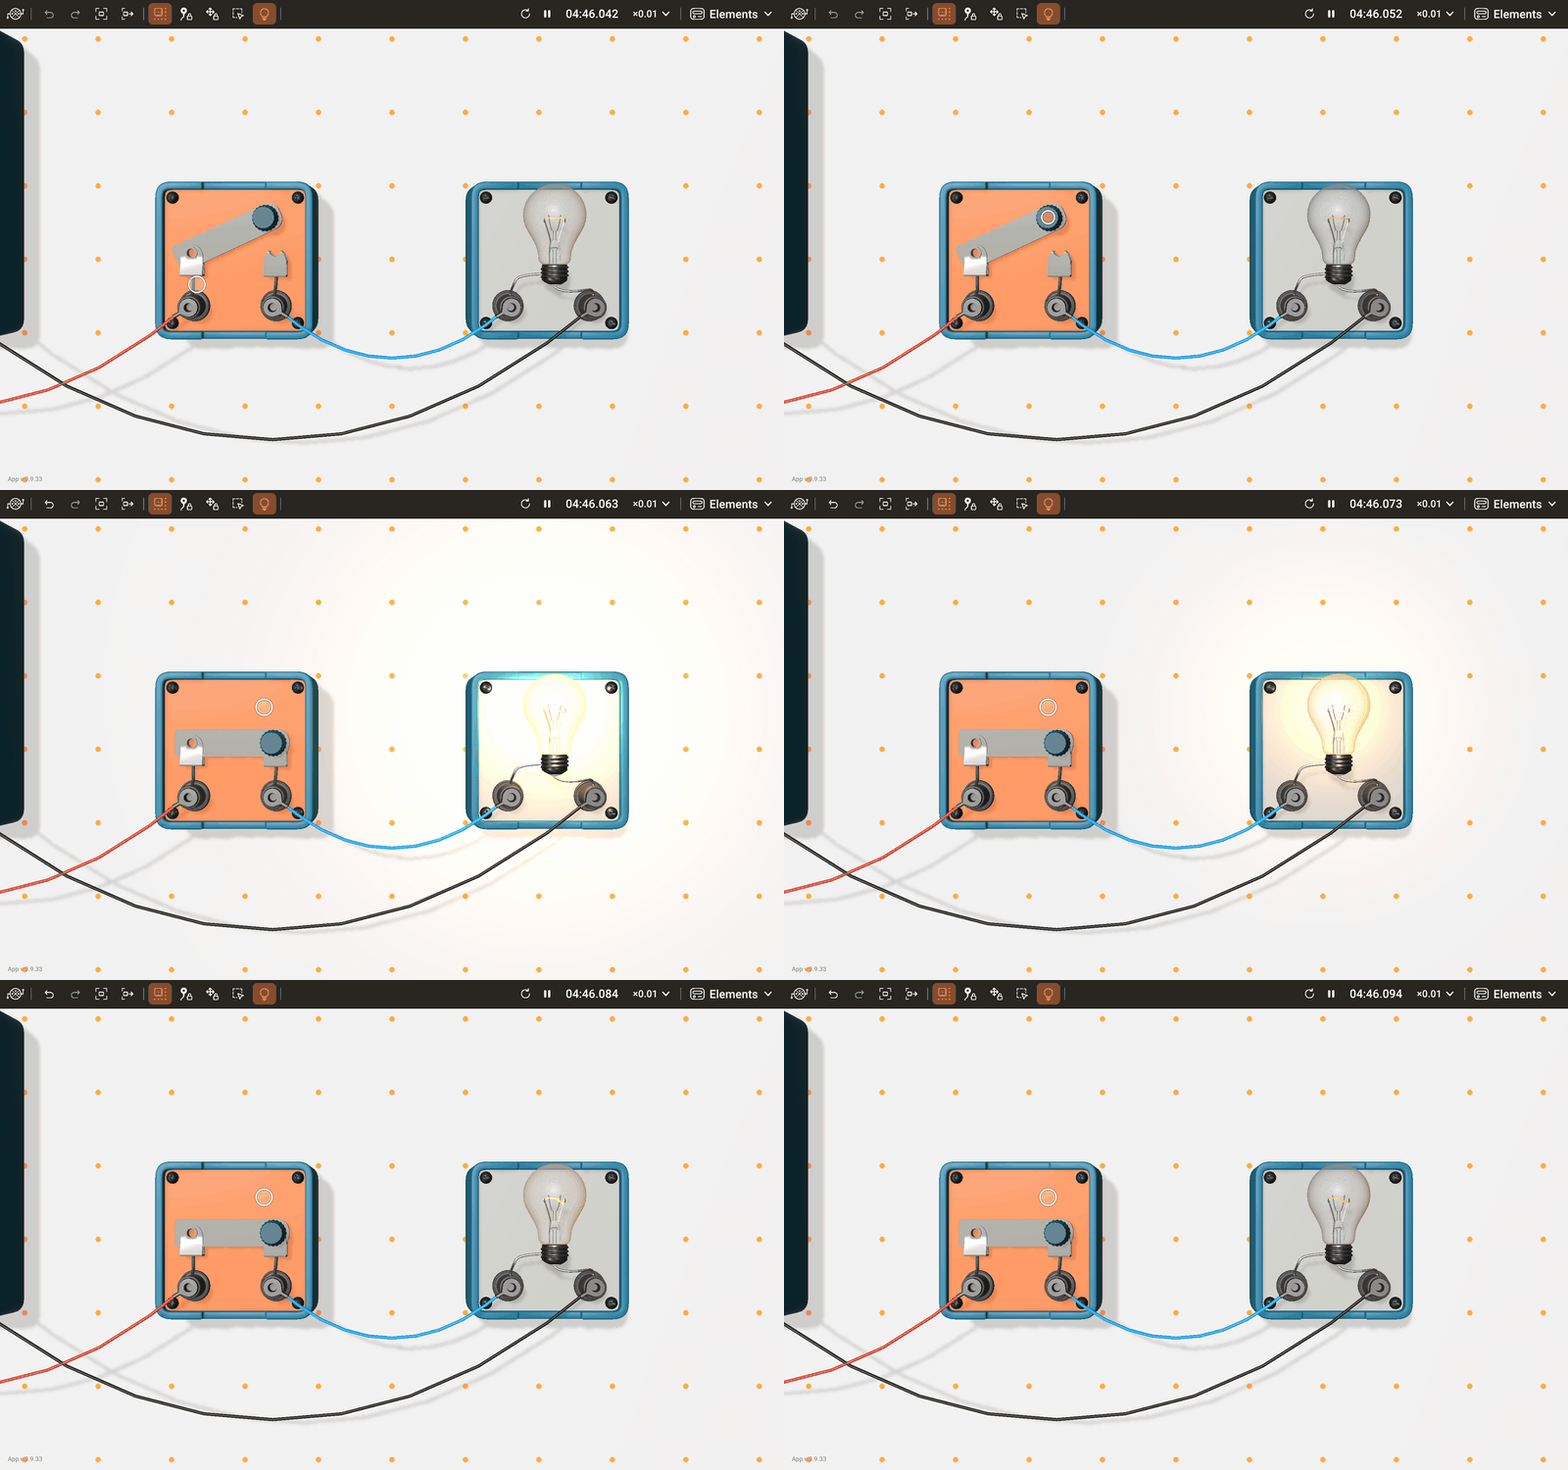
- Speed: the speed value on the clock opens the Speed slider, which slows the simulation down. Slow it down, and a lamp on alternating current visibly brightens and dims with every half-wave. If a large circuit cannot keep up, the speed value turns amber, and the slider shows the speed the simulation actually reaches (Actual). At a low speed, the ammeter and voltmeter need longer to measure and show dashes until their reading is ready.
When the lab cannot calculate the circuit, the message “Calculation error.” appears, an alarm sounds, the clock turns red and shows a warning sign. Tap the sign to read the message again. Fix the circuit, and the simulation resumes by itself; the Play button also restarts it.
My circuits
Main menu › My circuits gathers every way to open, save and share a circuit. Signed in, you keep circuits in the cloud - three slots with a free account - and every circuit has a link that opens it in the browser or in the installed lab.
- The "+" card: the last card, the next free place, laid out like the others: the empty-slot picture, a Save here button under it and the name of the circuit on screen under the button. Press the button, and the circuit is saved there under that name, no question asked. A circuit that already has a place is offered as a copy: Save a copy here, with (copy) added to the name. When every place is taken, the "+" is gone and a note says so: delete a circuit or replace one of them.
- The cards: the picture opens the circuit; over its corners, Share on the left and the bin on the right (it asks before deleting). Under the picture: Save on the highlighted card of the circuit open now (into its own place, without asking) or Replace… on every other (the circuit on screen goes into that place under its own name, after a question); the window stays open and the list refreshes. Under the button, the name in its field: edit it, and Enter or leaving the field saves the new name. The Share button is orange while the circuit is available by link; the pencil next to the name marks it as editable.
- Sharing: Share on a card opens a small window. Available by link (on for every new circuit): anyone who has the link can open the circuit, no sign-in needed; Copy link puts the link on the clipboard. Password under it: tick it and type one, and everyone but you is asked for it; untick it to take it off. Every change is saved the moment you make it. Switching the link off is confirmed, since the old link stops working for good; switching it on again issues a new link and removes the password.
- Open by link: press Open by link… at the bottom of the window, paste a link into the field and press Open. A link tapped in another app opens the installed lab; a link in the address bar of a browser opens the web version.
- Someone else's circuit: opened by link, it is yours to change on screen, but it saves only as a copy of your own. The line at the top of the window says so; … next to it reports the circuit to us.
- Files: Open file… shows the file picker of your system, and the camera frames the circuit that loads; Save as file… writes the circuit to a file on your device. The file carries a small picture of the circuit.
- Before New and before opening a circuit, a file or a lab, a dialog asks whether to discard changes you have not saved.
A file holds the circuit, not the moment
A file keeps the instruments, their settings and the cables, but not the electrical state of the circuit: the charge of a capacitor, the current in a coil, the heat of a filament. When a circuit opens, the lab calculates it from the start.
- Browser: the cloud and the files ask you to sign in. A browser that cannot ask where to put the file downloads it instead. The lab does not keep your circuit between visits unless you save it - to the cloud or to a file; on a computer the browser asks before closing a tab with unsaved changes; on a phone or a tablet it may close the tab without asking. A link opens a circuit directly: circuits.experimenters.app/?circuit=ohms-law opens the Ohm's law setup.
Settings
Main menu › Settings. Changes apply at once and stay on this device.
- Language: the language of your system, or any language the lab speaks.
- Cable animation: cables swing when their ends move; switch it off for cables that settle at once.
- Sound: on and off, and the volume. Instruments click, plugs snap in, knobs tick and the alarm sounds on a
calculation error; the sound of an instrument comes from where it stands.
- Browser: the lab stays silent until your first tap.
- Usage statistics: whether the lab may send usage statistics to Unity Analytics: which devices run the lab and how long it stays open. Until you answer, the lab asks at every start and works as usual meanwhile; nothing goes to Unity until you allow it. Switching statistics off stops them and asks Unity to delete the data collected from this installation. Error reports do not depend on this setting: when the lab runs into an error, it sends a report that identifies no one. The Privacy Policy lists what the statistics and the reports contain.
Account
Main menu › Account. You sign in with a code from an email, with Apple or with Google, and one account serves the browser, the standalone app, iPhone and iPad.
Signing in with a code
- Enter your email address and press Get code.
- Type the code from the email and press Sign in. Only the most recent code works; Send again sends a new one.
- If the address has no account yet, the lab says so and offers to create one: tick I accept the Terms and Conditions and press Create account.
Signing in with Apple or Google
Press Sign in with Apple or Sign in with Google, finish the sign-in with the provider, and the lab signs you in. We receive only your email address. If you choose Hide My Email, Apple passes us a relay address, and sign-in codes still reach you through it.
- Browser: the sign-in opens in a new tab.
- Standalone app: on Mac, the sign-in opens in a system window.
- iPhone and iPad: the sign-in opens in a system window.
The account page
Once you are signed in, the account page shows your address and:
- Sign out: signs this device out.
- Sign-in methods: the code by email, Apple and Google, each with Link or Unlink. The code by email always stays. Unlinking asks for a recent sign-in; if yours is older, sign out and back in.
- All devices › Sign out: signs out everywhere, this device included.
- Account on the website › Open: the same account in the browser.
- Account deletion › Delete: opens the deletion page on our website. It lists what deletion erases; you confirm that deletion cannot be undone, and if your sign-in is not recent, you enter a fresh code from your email. We then delete the account, its sessions and its sign-in methods at once.
Full screen
Full screen in the main menu expands the lab to the whole screen, and Exit full screen returns it to the window.
- Browser: on a computer, Esc also leaves full screen.
- Standalone app: the window fills the screen and returns to its previous size on exit.
- iPhone and iPad: the app always fills the screen, and the menu has no such item.
Quit (standalone app)
Quit in the main menu closes the app. If the circuit has changes you have not saved, the app asks whether to discard them first; closing the window asks the same.
Instrument reference
Every entry says what the instrument is for, how it connects and what it has to operate. The instruments have the imperfections of real ones: a source has an internal resistance, a meter slightly changes the circuit it measures, and every cable has a small resistance. A value beyond a limit of a parameter shows a hint with that limit.
Power sources
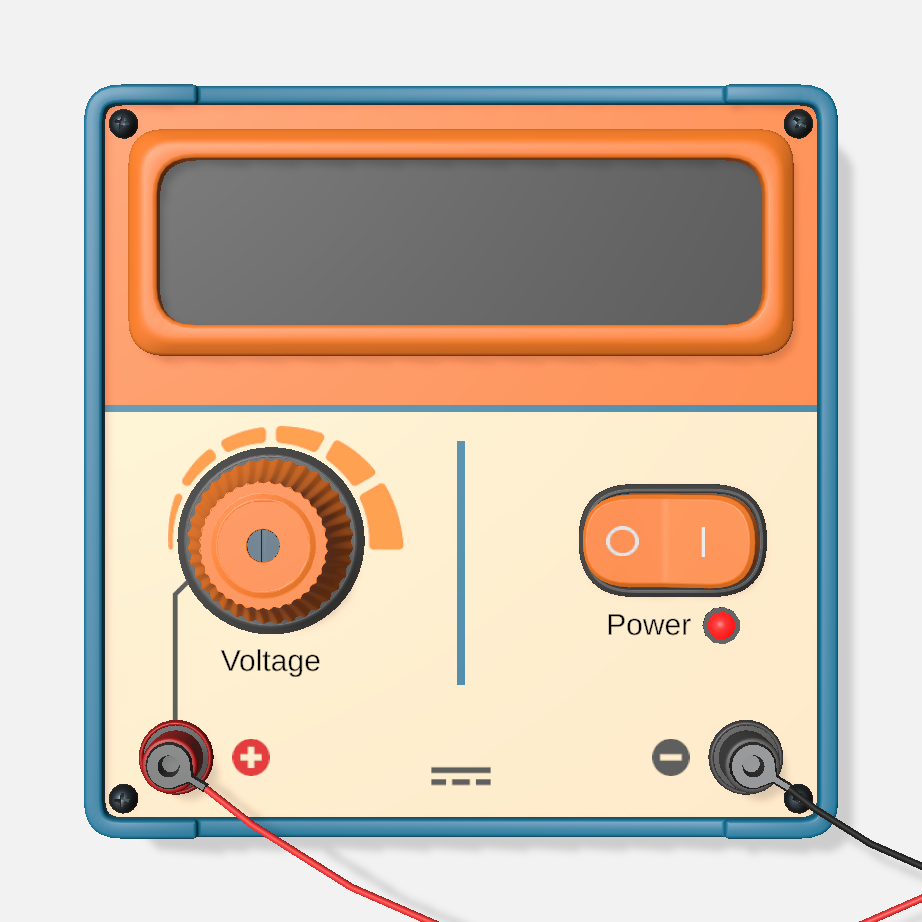
DC voltage source
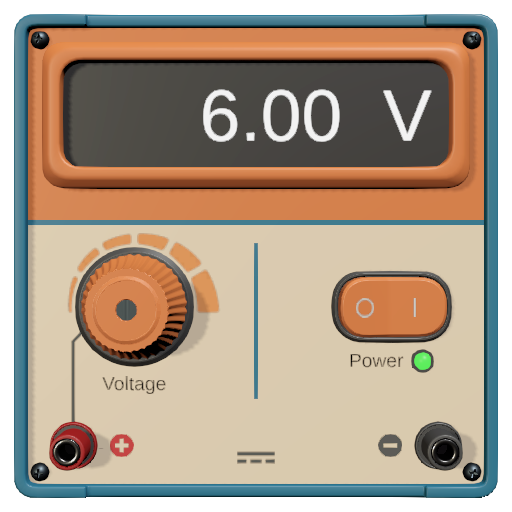
A laboratory power supply with an adjustable DC voltage.
- Terminals: negative and positive.
- On the instrument: the Power key, the Voltage knob and the display.
- Parameters: On, Voltage, Internal resistance, Current limit.
When the current exceeds the Current limit, the source switches itself off; the Power key switches it on again.
AC voltage source
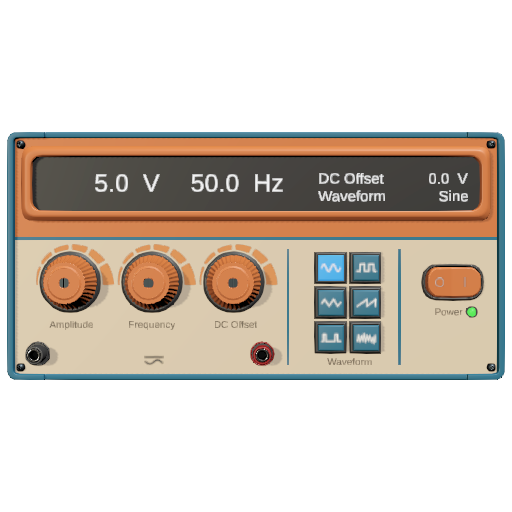
A function generator: an alternating voltage of the chosen waveform.
- Terminals: two outputs.
- On the instrument: the Power key; the Amplitude, Frequency and DC Offset knobs with their displays; the Waveform keys.
- Parameters: On, Amplitude, Frequency, DC offset, Waveform, Internal resistance, Current limit.
Above the Current limit it switches itself off; the Power key switches it on again. A meter on AC shows the RMS value, which for a sine is the amplitude divided by √2.
Battery
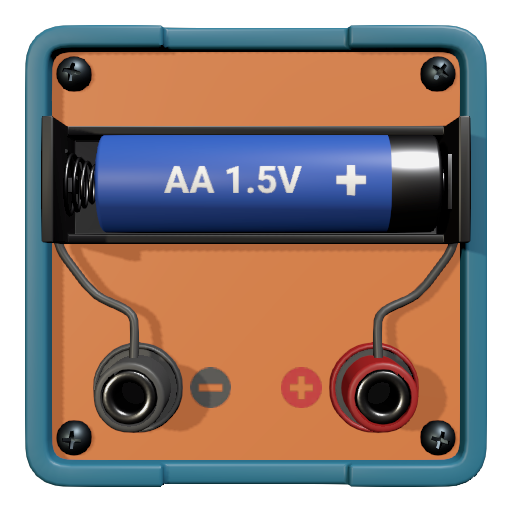
A chemical cell: a fixed voltage behind an internal resistance.
- Terminals: negative and positive.
- Parameters: Type, the kind of cell; its voltage is in the name.
The battery has no current limit and never runs down.
Resistors, capacitors and inductors
Resistor
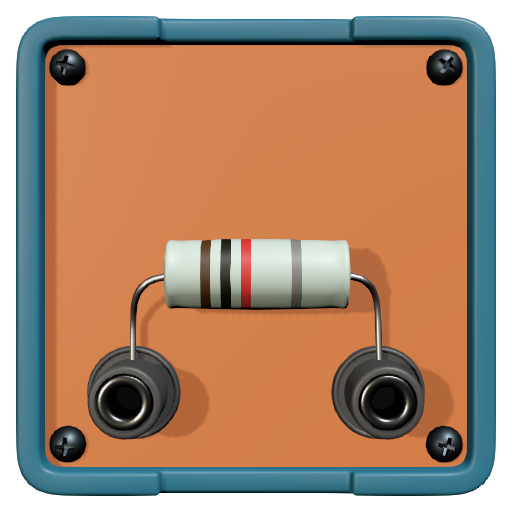
A fixed resistance.
- Parameters: Resistance, Show colour bands (the value in the resistor colour code).
Rheostat
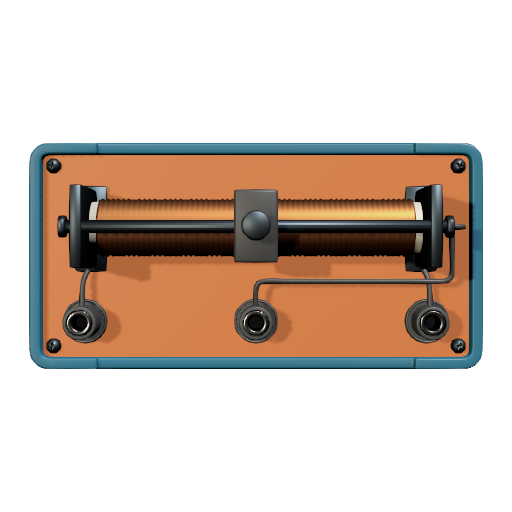
A variable resistor with a slider. One end of the track and the slider make a variable resistance; all three terminals make a voltage divider.
- Terminals: the two ends of the track and the slider.
- On the instrument: the slider.
- Parameters: Resistance, the resistance of the whole track.
Potentiometer
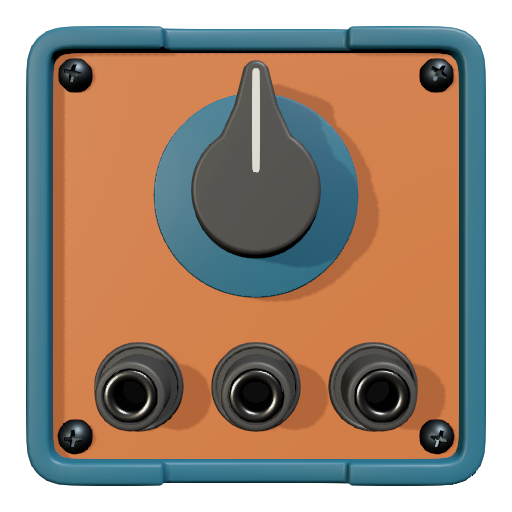
A variable resistor with a knob. One end of the track and the wiper make a variable resistance; all three terminals make a voltage divider.
- Terminals: the two ends of the track and the wiper.
- On the instrument: the knob.
- Parameters: Resistance, Taper (how the resistance follows the turn of the knob).
Capacitor
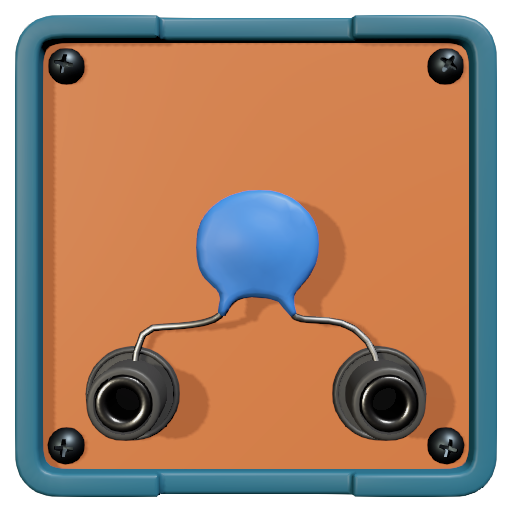
Stores electric charge. With a resistor, it sets how long charging and discharging take.
- Parameters: Capacitance.
Inductor
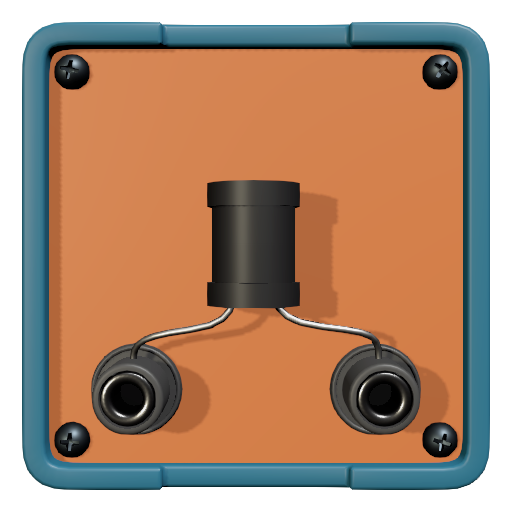
A coil that opposes a change of the current through it.
- Parameters: Inductance, Resistance (the resistance of the winding).
Transformer
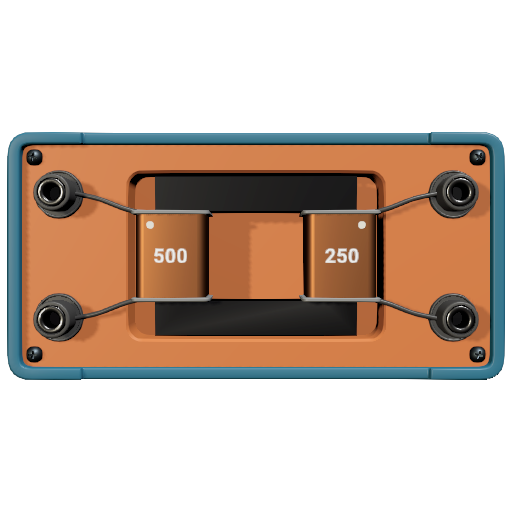
Changes an alternating voltage in the ratio of the turns of its two windings. On direct current it gives no steady output.
- Terminals: a pair for the primary winding and a pair for the secondary.
- Parameters: Primary turns, Secondary turns, Show turns. Untick Show turns, and you find the turns ratio from the voltages.
Switches and protection
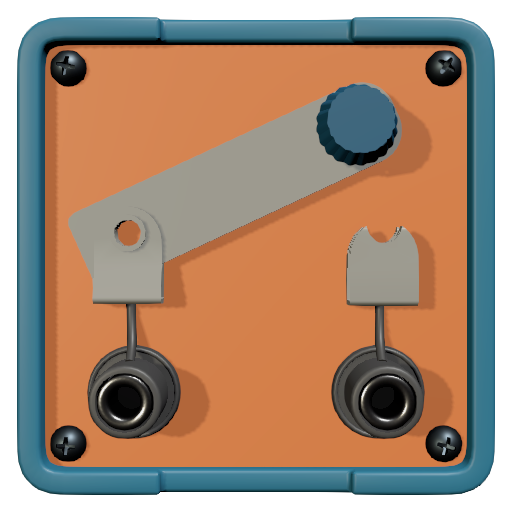
Two-way switch
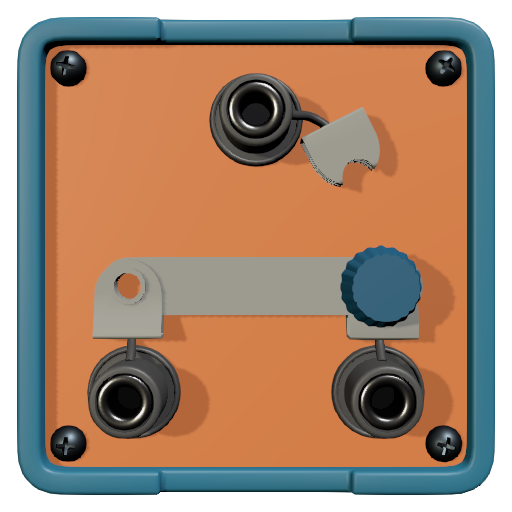
Connects the common terminal to terminal 1 or terminal 2; between the two positions, both circuits are open. Two such switches control one lamp from two places.
- Terminals: the common terminal, 1 and 2.
- On the instrument: the lever; a tap steps through the positions.
- Parameters: Position.
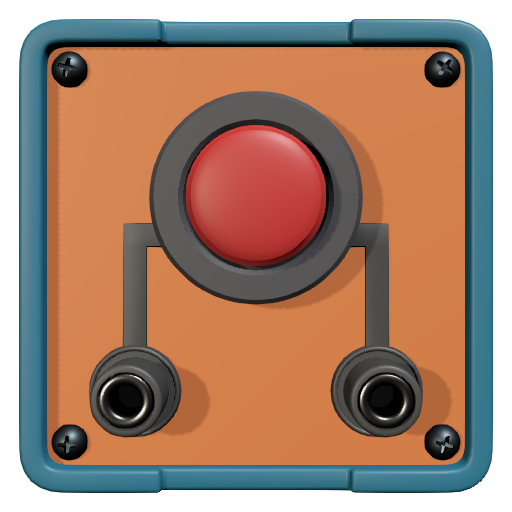
Fuse
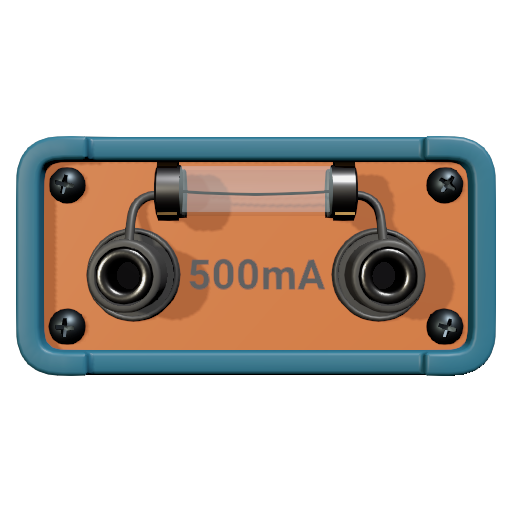
Breaks the circuit when the current stays above its rating for too long; the larger the overload, the sooner.
- Parameters: Rated current, Blown. Untick Blown to put in a new fuse.
Light sources
Lamp
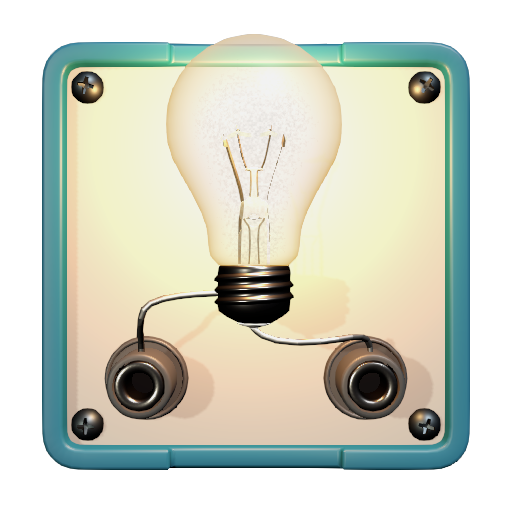
A filament lamp. Its brightness follows the voltage, and well above its rating it burns out.
- Parameters: Nominal voltage, Nominal power, Burned out. Untick Burned out to replace the lamp.
LED
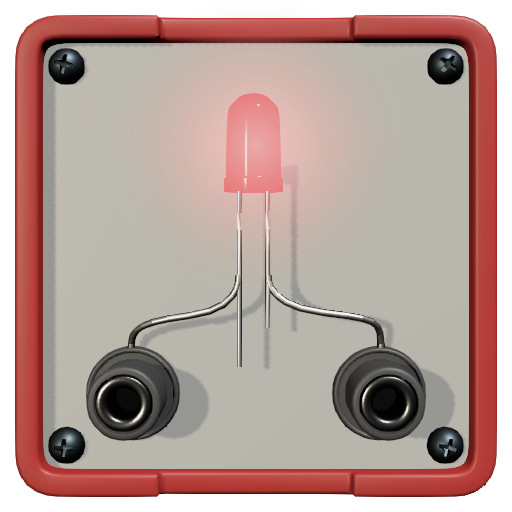
A light-emitting diode: it lights when current flows through it in the forward direction.
- Parameters: Color.
Semiconductors
Diode
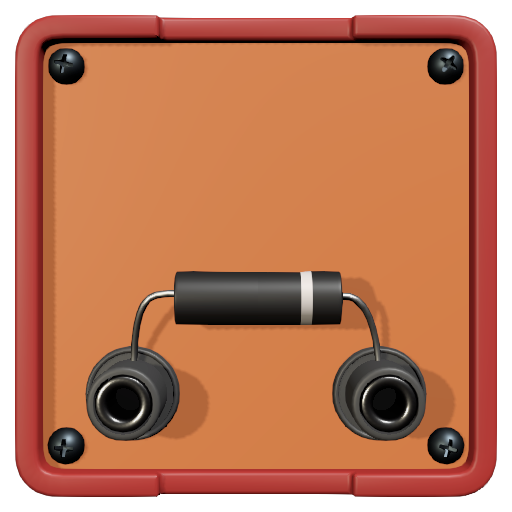
Conducts current in one direction only: from the anode to the cathode, the end marked with a band.
NPN transistor
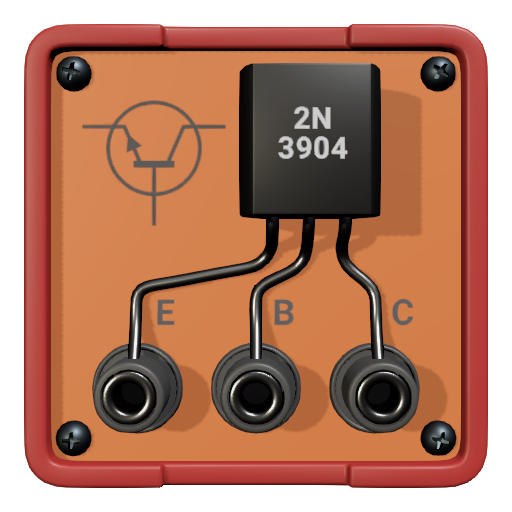
A bipolar transistor: a small base current controls a larger collector current. The collector is more positive than the emitter, and the base current flows into the base.
- Terminals: E, B and C (emitter, base, collector).
- Parameters: Current gain β.
PNP transistor
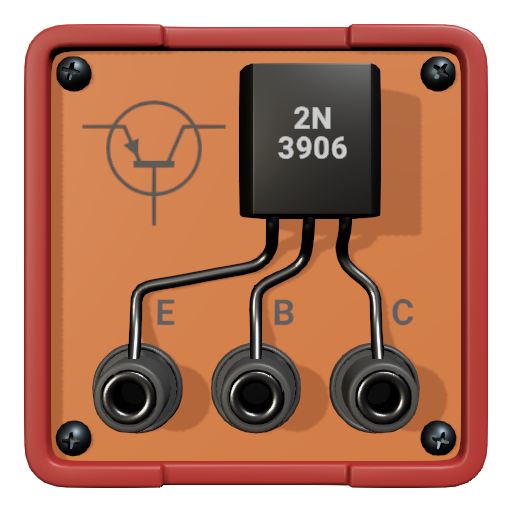
A bipolar transistor of opposite polarity: a small base current controls a larger collector current. The collector is more negative than the emitter, and the base current flows out of the base.
- Terminals: E, B and C (emitter, base, collector).
- Parameters: Current gain β.
Measuring instruments
Ammeter
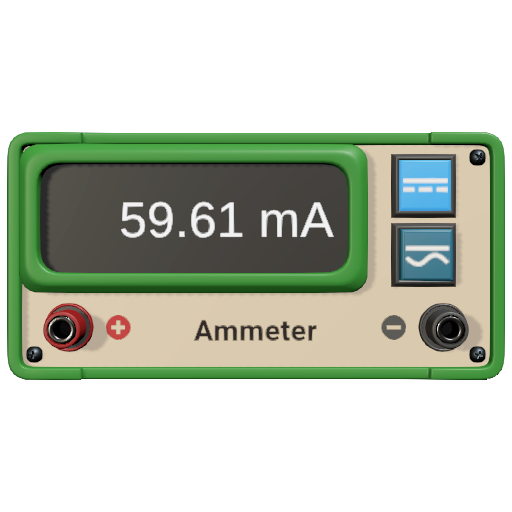
Measures current. Connect it in series with the part of the circuit you measure.
- Terminals: + and −. Connected the other way round, the meter shows a negative reading: the current flows the other way, and that is fine.
- On the instrument: the display and the DC and AC keys.
- Parameters: Mode: DC shows the average over a short interval, so an alternating signal reads close to zero; AC shows the RMS value.
Voltmeter
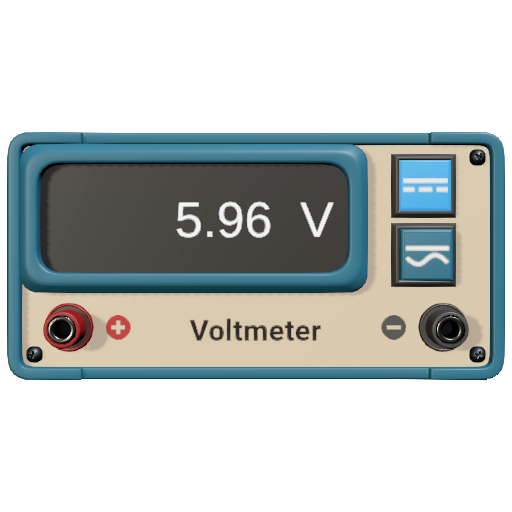
Measures voltage. Connect it in parallel with the part of the circuit you measure.
- Terminals: + and −. Connected the other way round, the meter shows a negative reading, and that is fine.
- On the instrument: the display and the DC and AC keys.
- Parameters: Mode: DC shows the average over a short interval, so an alternating signal reads close to zero; AC shows the RMS value.
Wattmeter
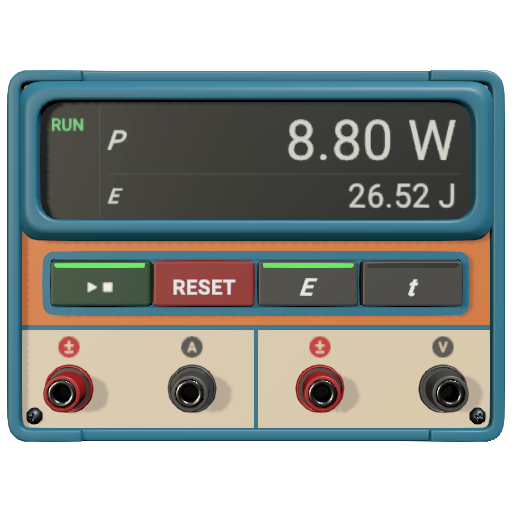
Measures power and counts the energy.
- Terminals: the current circuit, ± and A, goes in series with the load; the voltage circuit, ± and V, in parallel with it. With both ± terminals on the side of the source, the power reads positive; wired the other way round, it reads negative.
- On the instrument: the display and the ▶■, RESET, E and t keys. The display shows the power and the energy (E) or the counting time (t). ▶■ starts and stops the count, RESET clears it.
- Parameters: Current limit; when the current exceeds it, the display shows a warning sign.
Oscilloscope
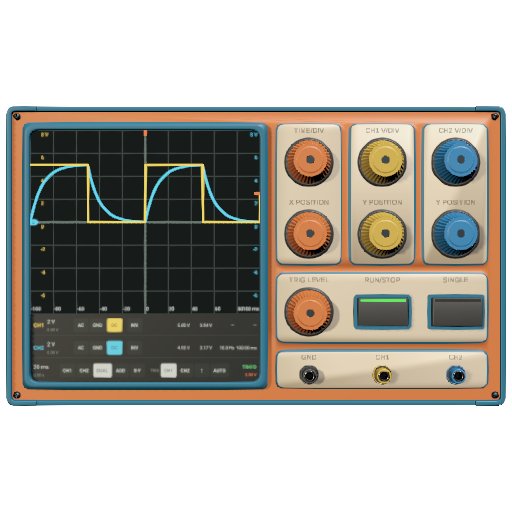
Shows how voltages change over time, on two channels.
- Terminals: CH1, CH2 and GND. Each channel shows the voltage between its terminal and GND, which both channels share. For a part with neither end at GND, invert one channel and choose ADD: the trace is the difference.
- On the instrument: the TIME/DIV, CH1 V/DIV, CH2 V/DIV, X POSITION, Y POSITION and TRIG LEVEL knobs, and the RUN/STOP and SINGLE keys.
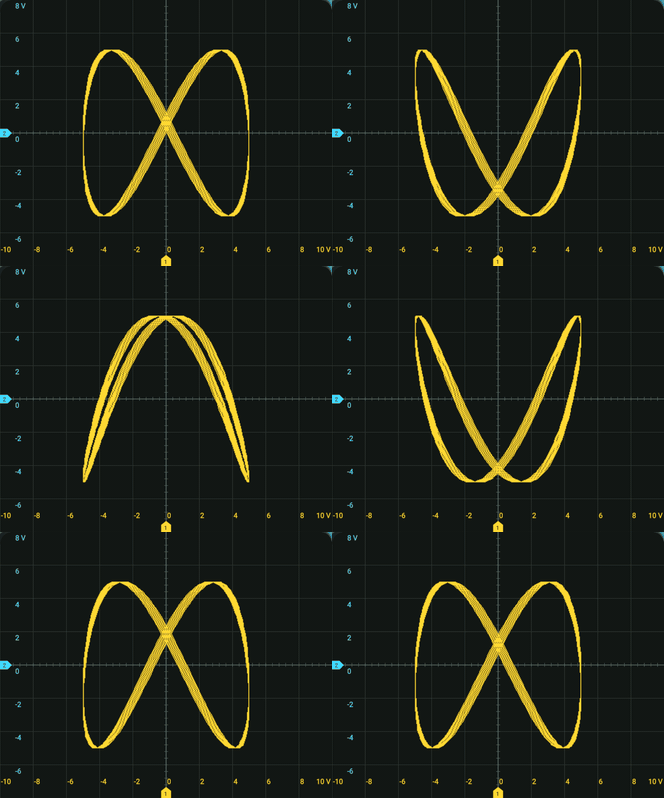
- On its screen: the coupling and inversion of each channel, the display mode (X-Y draws Lissajous figures), the trigger source, slope and mode; the scales and the measured peak-to-peak and RMS voltage, frequency and period.
Bus and cables
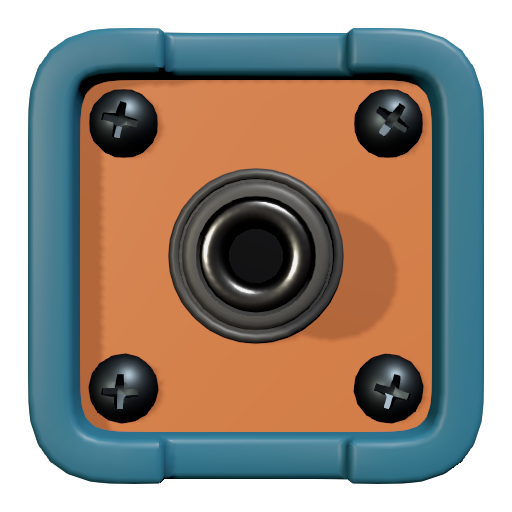
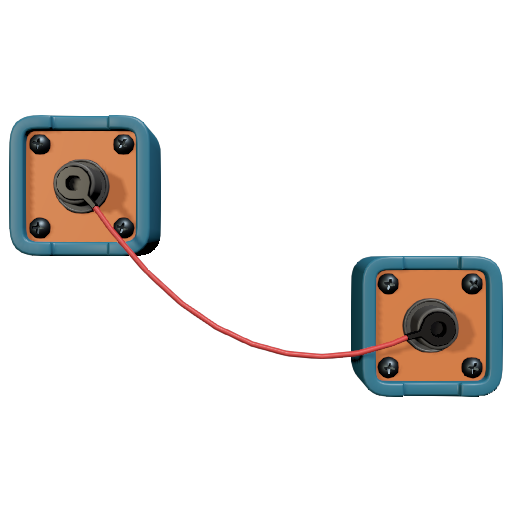
Feedback
If something does not work as described here, or you miss something, write to us from the Contact page or with Contact us in the main menu of the lab.